This guide helps content creators select the best video editing software for beginners to produce professional content for YouTube, TikTok, and Instagram. Following these workflows reduces editing time by 30-50%, allowing you to focus on content, not software. The right tool choice directly impacts production speed and final video quality.
This guide provides specific workflows and technical settings to get you from raw footage to a final export with zero guesswork. Learn more about complementary tools in our guide to the best tools for content creation.

Table of Contents
Quick Start
Execute your first edit using these six steps. This process applies to any beginner-focused video editor.
- Select Editor: Choose CapCut (mobile), Filmora (desktop), or iMovie (Apple).
- Import Footage: Drag video files from your storage directly into the editor.
- Arrange Clips: Place clips onto the timeline in sequential order.
- Make Cuts: Use the razor/split tool (shortcut 'B' or 'C') to trim pauses and mistakes.
- Set Audio Levels: Normalize main dialogue to average −12dB to −14dB.
- Export: Use a platform-specific preset like "YouTube 1080p" for automatic settings.
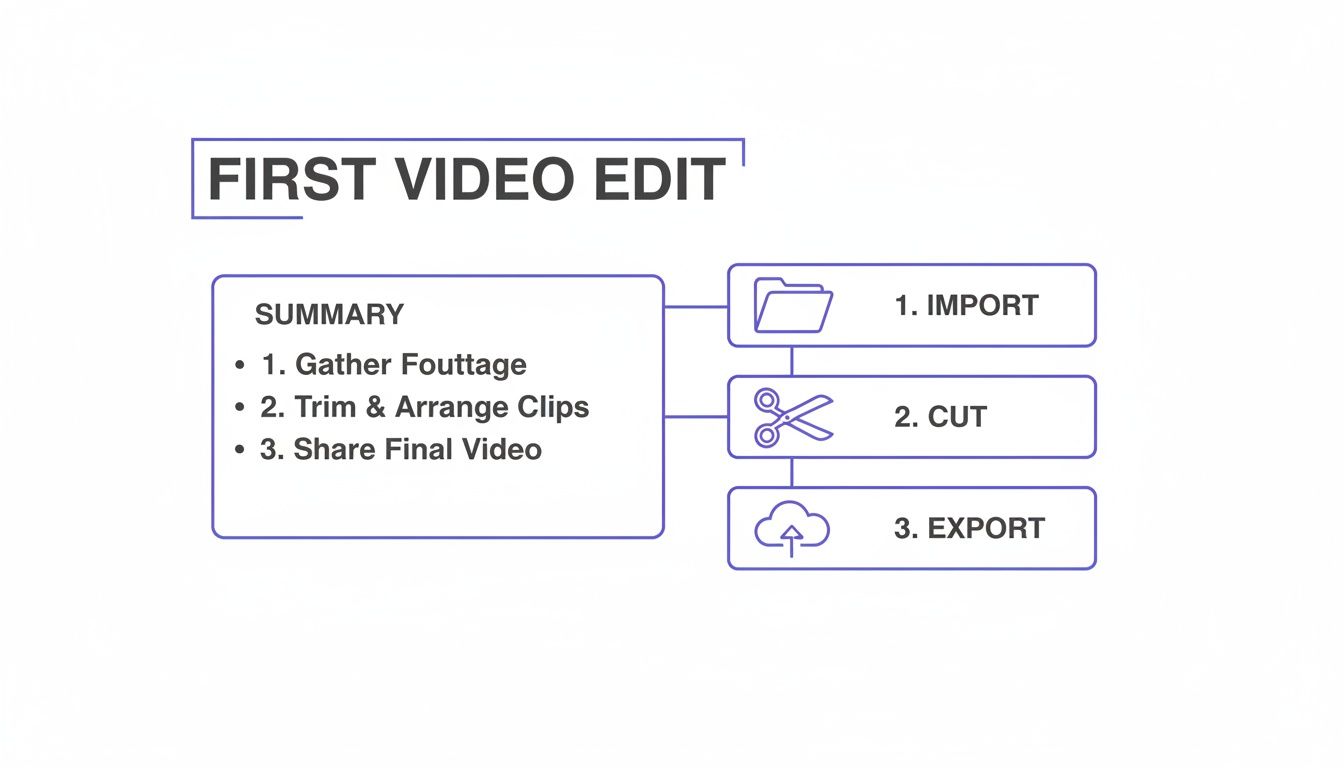
Your First Video Edit in Under 30 Minutes
Going from raw footage to a finished video is the core skill to develop. This is not about mastering every feature; it is about building a repeatable workflow that gets you from A to B efficiently.
This checklist is designed to get your first project imported, edited, and exported in under 30 minutes. It works across any beginner-friendly editor and builds essential muscle memory.
- Import and Sequence: Get your clips into the editor. Drag your footage directly onto the timeline and arrange the clips in the desired order.
- Make Basic Cuts: Use the blade or split tool (shortcut is often 'C' or 'B') to remove mistakes, long pauses, and filler words. This is where your video begins to feel clean and paced.
- Add a Simple Transition: To smooth a clunky jump between two clips, apply a basic cross-dissolve transition. Drag and drop it between the clips to make cuts feel less jarring.
- Standardize Color: Apply a simple, one-click color correction filter to all your clips to give them a consistent, unified look. This addresses minor lighting variations between shots.
- Set Audio Levels: Poor audio is a primary reason viewers leave. Normalize your main audio track so dialogue averages around −12dB. This level ensures clarity on platforms like YouTube without being too quiet or loud.
- Export with a Preset: Hit the export button and choose a built-in preset like 'YouTube 1080p' or 'TikTok.' This guarantees your video has the correct settings without manual adjustments to codecs or bitrates.
Comparing the Top Beginner Video Editors
Selecting the correct video editor upfront saves hours of frustration with a tool that misaligns with your workflow. This is a practical comparison of CapCut, Filmora, and iMovie based on requirements for creating content for YouTube, TikTok, and Instagram.
The core video editing process is consistent: import media, edit on a timeline, and export the final product.
The difference between these tools lies in how each one helps you complete this process with the least amount of friction for your specific content type.
CapCut: The Mobile-First Powerhouse
If your creative process is entirely on your phone, CapCut is your editor. It is designed for vertical video, making it the fastest path from shooting a clip to posting it on TikTok or Reels.
Its primary advantage is the seamless integration with TikTok. You can import trending sounds and effects directly within the editor, eliminating several steps required with other software. The auto-captioning feature generates text with 90-95% accuracy and offers animation styles native to the platform.
Key Differentiator: CapCut's direct pipeline to TikTok is its most significant feature. The native vertical workflow and built-in library of trending audio can reduce production time for short-form content by an estimated 20-30% compared to desktop-first editors.
Filmora: The Versatile Desktop Editor
Filmora is ideal for aspiring YouTubers who require more power than a mobile app but are not ready for professional software. It provides a balanced feature set that can grow with you, from a first vlog to more polished, long-form content.
When comparing the best video editing software for YouTube creators, Filmora is notable for its library of pre-built effects, title templates, and a simple color grading interface. For example, you can apply a cinematic LUT to footage and adjust its strength with a single slider in less than 10 seconds.
For context, one user reported reducing their average edit time for a 10-minute vlog from 4 hours in a more complex editor down to 2.5 hours in Filmora by using its template and preset features.
iMovie: The Apple Ecosystem Champion
For anyone invested in the Apple ecosystem, iMovie offers an unmatched integrated experience. It allows for a seamless workflow between iPhone, iPad, and Mac. You can start an edit on your phone and finish it on your MacBook via iCloud sync.
The interface is the most minimal of the three, focusing on executing essential functions well. The "Magic Movie" feature can analyze your clips, select the best parts, assemble them, and add music to create a rough cut in under 60 seconds.
Key Differentiator: iMovie’s defining feature is its flawless integration with Apple hardware. The ability to AirDrop large ProRes files from an iPhone to a Mac for immediate editing removes the friction of file transfers.
Beginner Video Editor Feature Comparison
This table compares the editors based on features that matter most to new creators. It highlights the key differences in what each tool provides out of the box.
| Feature | CapCut | Filmora | iMovie |
|---|---|---|---|
| Best For | TikTok/Reels & Mobile Creators | Aspiring YouTubers & Desktop Beginners | Apple Users & Quick Projects |
| Auto-Captions | Yes, with trending styles | Yes, with good customization | No (Requires third-party app) |
| Effects Library | Huge, tied to TikTok trends | Large, with cinematic and polished styles | Basic transitions and titles |
| Platform Integration | Direct TikTok sound/effect library | Stock media integrations (Filmstock) | Deep iCloud & AirDrop sync across devices |
| Color Grading | Basic filters and adjustments | User-friendly LUTs and sliders | Simple enhancement tools |
| Learning Curve | Very Low (1-2 hours) | Low (2-4 hours) | Very Low (1-2 hours) |
| Cost | Free (with some Pro features) | Subscription or Perpetual License | Free (with Apple devices) |
CapCut wins for speed and trend-readiness on mobile, Filmora provides the most room for growth on a desktop, and iMovie offers a streamlined experience for Apple users.
Optimizing Workflows for YouTube and TikTok
Choosing the right editor is the first step. Significant time savings come from building a repeatable workflow optimized for your target platform. An edit for a 15-minute YouTube video will fail on TikTok, where you have less than three seconds to capture attention.
Here are two distinct, repeatable workflows: one for YouTube's long-form content and another for TikTok's rapid-fire, vertical format.
The YouTube Long-Form Workflow
On YouTube, viewer retention is the primary metric. Your editing must be clean, well-paced, and have clear audio. This workflow is for a standard 1920x1080 (16:9) video.
- Set Up Your Sequence Correctly: Create a new sequence with a 1920x1080 resolution. Use a frame rate of 24 or 29.97 frames per second (fps) for a standard look.
- The Rough Cut and Pacing: Place your main footage (A-roll) on the timeline. Cut all mistakes, pauses, and filler words. Use J-cuts and L-cuts to smooth transitions between clips. This technique, where audio from one clip overlaps the video of another, makes an edit feel 25-40% more professional.
- Standardize Your Audio: Normalize all dialogue clips to peak at −3dB to prevent distortion. Mix your final audio to an average of −14 LUFS (Loudness Units Full Scale). This is YouTube's standard and ensures consistent volume across the platform.
- Nail Your Export Settings: Use the H.264 codec.
- Resolution: 1920x1080p
- Bitrate: 15-20 Mbps for 1080p video at 30fps.
- Audio: AAC codec at 320 kbps with a 48 kHz sample rate.
Example Workflow: For a 12-minute product review, my first pass is a 45-minute assembly of all A-roll, cutting it down to the core narrative. The second pass, another 60 minutes, involves adding B-roll of the product in use, overlaying text graphics with key specs, and mixing in background music at -24dB.
The TikTok Short-Form Workflow
TikTok rewards immediate engagement and watch completion. Your workflow must prioritize speed and visual impact within a vertical 1080x1920 (9:16) frame.
- Start with a Vertical Sequence: Set up your project in 1080x1920 from the beginning to avoid reframing issues later.
- Generate Captions First: Use your editor's auto-captioning tool immediately. This allows you to edit video and text simultaneously. Place captions 15-20% from the bottom of the screen to avoid being obscured by the TikTok UI.
- Pacing is Everything: No single shot should last longer than 3-4 seconds. Use quick cuts, zooms, and motion graphics. For more, see our guide on how to make viral TikTok videos.
- Vertical Video Export Settings:
- Codec: H.264
- Resolution: 1080x1920p
- Bitrate: 10-15 Mbps is sufficient for 1080p vertical video.
- Frame Rate: 30fps is the standard for social media.
Specialized UGC video creation tools can further accelerate the creation of short-form content.
Decision Framework: Which Workflow to Use?
Your workflow choice must be made before you begin editing.
- Use the YouTube workflow if: Your video is longer than 2 minutes, explains a topic in detail, and is intended for desktop or TV viewing.
- Use the TikTok workflow if: Your video is under 60 seconds, designed for a mobile screen, and built for high-impact engagement.
Which Editor to Choose Based on Your Goals
The correct editor is not the one with the most features; it is the one that aligns with your content strategy. This decision framework outlines three common creator scenarios and recommends the best video editor for each.
Scenario 1: The Mobile-First TikTok Creator
Your entire process—shooting, editing, and posting—occurs on a mobile device. You require speed and platform integration.
- Primary Goal: Rapidly produce high-engagement vertical videos for TikTok, Reels, and Shorts from a mobile device.
- Key Workflow: Shoot a clip, add trending audio, auto-generate captions, apply an effect, and post directly, often in under 15 minutes.
- Technical Needs: A 1080x1920 vertical timeline, direct access to TikTok’s sound library, and one-click captioning tools.
Recommendation: CapCut
CapCut is built for this workflow. Its direct integration with TikTok can reduce production time by 20-30%. Its auto-captioning is the most effective on mobile for producing platform-native text styles.
Scenario 2: The Aspiring YouTuber
For long-form YouTube content, a desktop editor is necessary for granular control over pacing, color, and audio.
- Primary Goal: Create polished, long-form horizontal videos for YouTube with consistent branding.
- Key Workflow: Import camera footage, perform detailed edits with J-cuts and L-cuts, apply basic color grading (LUTs), mix multiple audio tracks, and export a high-bitrate 1920x1080 file.
- Technical Needs: A multi-track timeline, keyframe controls, color correction sliders, and reliable export presets (H.264 at 15-20 Mbps).
Recommendation: Filmora
Filmora offers a balance of user-friendliness and advanced features. Its intuitive timeline simplifies complex edits, and its library of drag-and-drop effects and support for LUTs allow for a professional look without a steep learning curve.
Scenario 3: The Apple Ecosystem User
If your toolkit is all Apple, a seamless workflow across devices is your primary advantage.
- Primary Goal: Maintain a frictionless editing process across all Apple devices.
- Key Workflow: Shoot ProRes video on an iPhone, AirDrop it to a Mac for main edits, make final adjustments on an iPad, and export.
- Technical Needs: Flawless iCloud project syncing, a universal app design, and performance optimized for Apple hardware.
Recommendation: iMovie
For users in the Apple ecosystem, iMovie is the optimal choice. Its strength is its simplicity and perfect iCloud sync. As an example, a travel vlogger I know shoots on her iPhone 15 Pro, begins organizing clips in iMovie on her iPad during the flight home, then completes the final 4K edit and color correction on her MacBook Pro without ever manually transferring a file. For industry data on editor market share, see SendShort.ai.
Common Mistakes & Fixes
Even with intuitive software, common technical mistakes can make videos appear unprofessional. These issues are frequent for new creators but are simple to correct.
Fixing these four areas will immediately improve the technical quality of your work.
Issue → Inconsistent Audio Levels
Your voice is quiet, but the music is loud. Viewers are forced to adjust their volume, which is a primary reason for abandonment.
Fix: Normalize dialogue clips to average −12dB. Ensure no audio peaks above −6dB to prevent digital distortion. Use a compressor with a 3:1 ratio on dialogue tracks to even out volume.
Issue → Jarring Jump Cuts
Cutting a section from a continuous shot causes the subject to "jump" positions. This looks like an error and can disorient the viewer.
Fix: Hide the cut by scaling the second clip up by 15-20% to create a "punch in" effect. A better method is to cover the edit with B-roll, which adds visual context.
Issue → Poor Pacing and Flow
The video feels disjointed. Scenes end and begin abruptly with hard cuts, disrupting the narrative flow.
Fix: Use J-cuts and L-cuts. In a J-cut, the audio from the next clip begins before its video. In an L-cut, audio from the previous clip continues over the new one. These techniques weave scenes together for a smoother flow.
Issue → Muddy or Flat Color
Colors appear washed out, too dark, or inconsistent between clips. Raw footage often lacks contrast and vibrancy.
Fix: Use basic three-way color correction. In your editor’s color panel, find the controls for shadows, mid-tones, and highlights. Lower the mid-tones slightly, raise the highlights slightly, and add 5-10% saturation.
For more techniques, see our guide on video editing tips for beginners.
Frequently Asked Questions About Beginner Video Editors
Here are specific answers to common questions from new creators selecting their first video editor.
How long does it take to learn a beginner editor?
You can produce your first video faster than you think.
- Mobile Editors (CapCut, iMovie): You can learn the core workflow—importing, trimming, adding text, and exporting—in under 2 hours. Their design prioritizes speed.
- Desktop Editors (Filmora): You will grasp fundamentals in a similar 2-3 hour timeframe. To become proficient with keyframing, color grading, or detailed audio mixing, plan for 10-15 hours of practice.
Do I need a high-performance computer for this?
No. The required power is tied directly to the video resolution you are editing.
- For 1080p (Full HD) editing: Most computers from the last 4-5 years are sufficient. A minimum of 8GB of RAM and an integrated graphics card is adequate.
- For 4K (Ultra HD) editing: Requirements increase. For smooth editing, you need at least 16GB of RAM, a dedicated graphics card (e.g., NVIDIA RTX 3060 or better), and a fast SSD. Editing 4K on a weaker PC results in choppy playback and render times that are 300-500% longer.
Can I edit professional-quality videos on my phone?
Yes, but "professional" is platform-dependent.
- For Social Media (TikTok, Reels, Shorts): Mobile editors like CapCut are often the superior tool. They provide direct access to trending audio and effects, which is a significant workflow advantage.
- For YouTube or Client Projects: A desktop editor offers critical advantages. The precision of a mouse for timeline edits, more powerful color grading tools, and advanced audio mixing are essential for long-form content.
What is the single most important feature for a beginner?
The most critical feature is a clean, intuitive timeline. You will spend 90% of your time here. If it is confusing, you will become frustrated. A good timeline for beginners allows clear visibility of audio waveforms, easy snapping of clips, and precise cuts without software resistance.
How do I remove watermarks from my exported videos?
Many "free" editors add a logo to your final video to encourage an upgrade.
- Completely Free, No Watermark: iMovie is the standard. On an Apple device, it is free and never adds a watermark.
- Freemium Options: CapCut and Filmora offer free versions that may add a watermark or restrict premium effects. Upgrading to a paid plan is required to remove all limitations and export a clean video.
At ClickyApps, we build tools that solve tedious parts of content creation. If you find yourself manually fixing subtitle timings, our SRT Editor can automatically detect and fix overlaps, saving you valuable editing time.