For working content creators, a podcast repurposes existing expertise to deepen audience connection and build authority outside of visual platforms. This guide provides a direct, technical workflow for launching a professional-sounding show, covering everything from initial gear selection to final distribution. The outcome is a repeatable process for producing high-quality audio that reaches a wider audience.
Table of Contents
Explore more guides for Content Creators
Quick Start: Launch Workflow
- Select Gear: Choose a dynamic USB microphone (e.g., Samson Q2U) and closed-back headphones (e.g., Audio-Technica ATH-M20x).
- Record Audio: Position the mic 2-4 inches from your mouth. Record into Audacity, leaving 5 seconds of room tone at the start.
- Process Audio: Apply Noise Reduction, EQ (High-Pass at 90Hz), Compression (3:1 ratio, -18dB threshold), and normalize the final mix to -16 LUFS stereo.
- Upload to Host: Export as an MP3 and upload to a host like Buzzsprout.
- Distribute: Submit your RSS feed from your host to Apple Podcasts Connect and Spotify for Podcasters.
Your Essential Podcast Starter Kit
For creators on YouTube or Instagram, launching a podcast adds a long-form medium to your content strategy. Unlike a 60-second clip, audio lets you explore nuanced conversations that build listener trust. You only need a few key pieces of equipment and software to start producing professional-sounding audio.
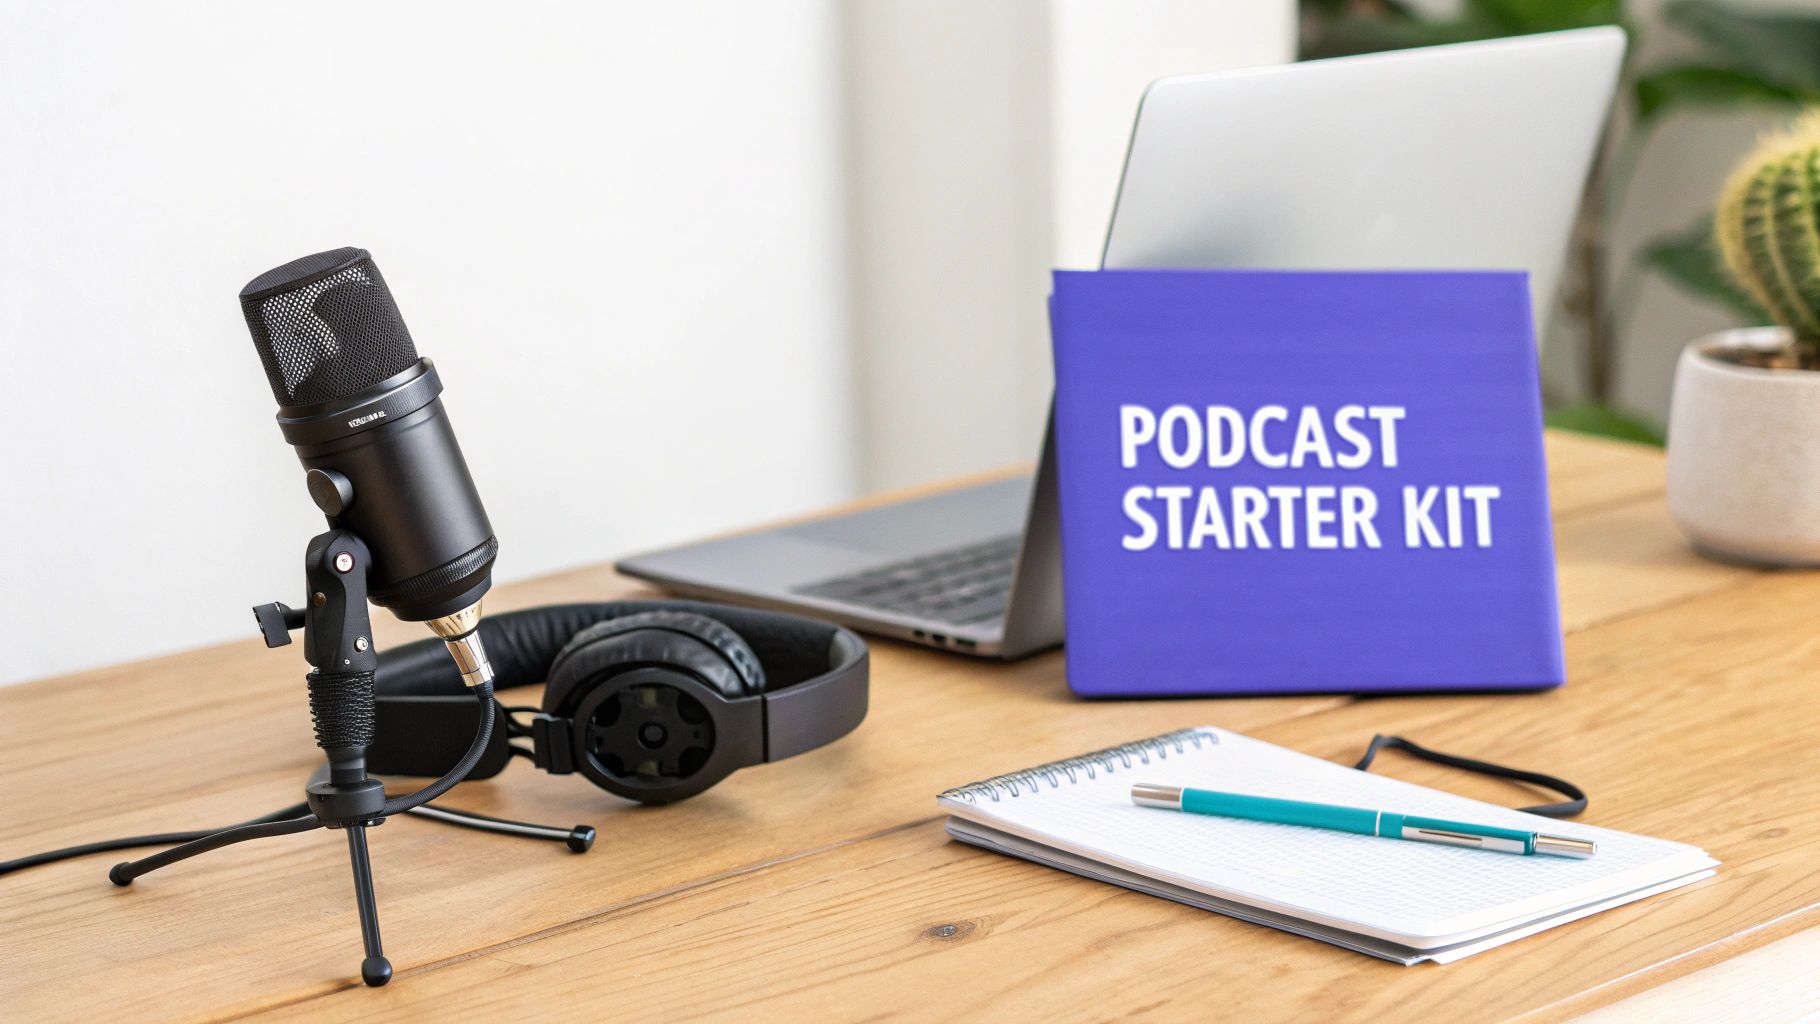
Figure 1: A standard podcast starter setup includes a quality microphone, monitoring headphones, and a computer with recording software.
This guide is structured to build your technical knowledge sequentially, from foundational gear to post-production and distribution. The goal is to explain the "why" behind each technical recommendation so you can make informed decisions for your specific setup and content goals.
The core of any podcast requires three components: a quality microphone, audio recording software, and a reliable hosting service. Mastering these three areas provides the foundation for a show that sounds professional and reaches your audience.
We will cover specific audio loudness standards, such as hitting a target of -16 LUFS for stereo mixes, which is the required level for consistent playback on Spotify and other major platforms. For a broader overview, a comprehensive guide on how to start a podcast can provide additional context.
Choosing Your Foundational Gear and Software
To produce audio that retains listener attention, a few core pieces of hardware and software are required. High-quality audio is a baseline expectation. This section breaks down the essentials for recording clean, professional-sounding tracks.
With over 4.52 million podcasts available worldwide according to Podcastatistics.com, listeners have high standards and will not tolerate poor audio quality. For a deeper dive into hardware, a comprehensive B2B podcast equipment guide details microphones, interfaces, and more.
Selecting the Right Microphone
Your microphone is the most critical piece of gear in your setup. It is the point of signal capture, and a poor-quality recording at the source cannot be fully repaired in post-production. A USB microphone is the most direct path to quality audio, as it plugs directly into your computer and bypasses the need for a separate audio interface.
You will encounter two primary types of microphones:
- Dynamic Microphones: These are less sensitive, which is beneficial for untreated recording spaces. They effectively reject background noise, making them the best choice for a typical home office with potential echo or ambient sound. A prime example is the Samson Q2U.
- Condenser Microphones: These microphones capture rich, detailed sound. They perform exceptionally well in quiet, acoustically treated rooms but will capture all ambient noise—computer hum, keyboard clicks, and room reflections—in an untreated space.
Essential Audio Accessories
Beyond the microphone, two inexpensive accessories significantly improve recording quality.
First, a pop filter diffuses plosive sounds ('p' and 'b' consonants) that create distorted pops in a recording. This is a simple fix for a common audio issue.
Second, closed-back headphones create an acoustic seal around your ears. This allows you to monitor your audio in real-time without the headphone audio "bleeding" into the microphone and causing an echo. This is crucial for identifying issues like clipping or background noise during the recording process.
Gear Decision Framework: Budget vs. Pro Setup
This framework outlines the component choices for two distinct setups. The decision depends on your budget and long-term production goals. An XLR microphone requires an audio interface but offers superior sound quality and control compared to a direct USB connection.
| Component | Budget Option (Good Quality) | Professional Option (Excellent Quality) | Key Consideration |
|---|---|---|---|
| Microphone | Audio-Technica AT2020 (USB) | Shure SM7B (XLR) | USB is plug-and-play. XLR requires an audio interface but offers more control and better sound. |
| Audio Interface | Not Required (for USB mics) | Focusrite Scarlett 2i2 | An interface converts the mic's analog signal to digital and provides cleaner preamps. |
| Headphones | Audio-Technica ATH-M20x | Beyerdynamic DT 770 Pro | Pro headphones offer better sound isolation and a flatter frequency response for accurate monitoring. |
| Pop Filter | Basic Foam or Mesh Screen | Shure Popper Stopper | More expensive filters offer better plosive protection without coloring the sound. |
A solid USB microphone and headphones can produce a professional show. You can upgrade components later as your podcast grows.
Your First Recording Software
You do not need to purchase software to start. A free, open-source Digital Audio Workstation (DAW) like Audacity is powerful enough to handle all essential podcast editing tasks.
With Audacity, you can perform core post-production functions:
- Trimming Silence: Remove dead air at the beginning and end of recordings.
- Noise Reduction: Use a sample of room tone to intelligently reduce background hiss or hum from the entire recording.
- Basic Editing: Cut, paste, and delete audio sections to remove mistakes or restructure content for better flow.
Many creators benefit from a broader set of tools for their entire workflow. Our guide on the best tools for content creation shows how podcasting tools fit into a larger ecosystem.
Mastering Your Audio Post-Production Workflow
Recording is the first step; post-production turns raw audio into a polished show. A repeatable editing workflow ensures consistency between episodes and saves time by addressing audio issues in a specific, logical order.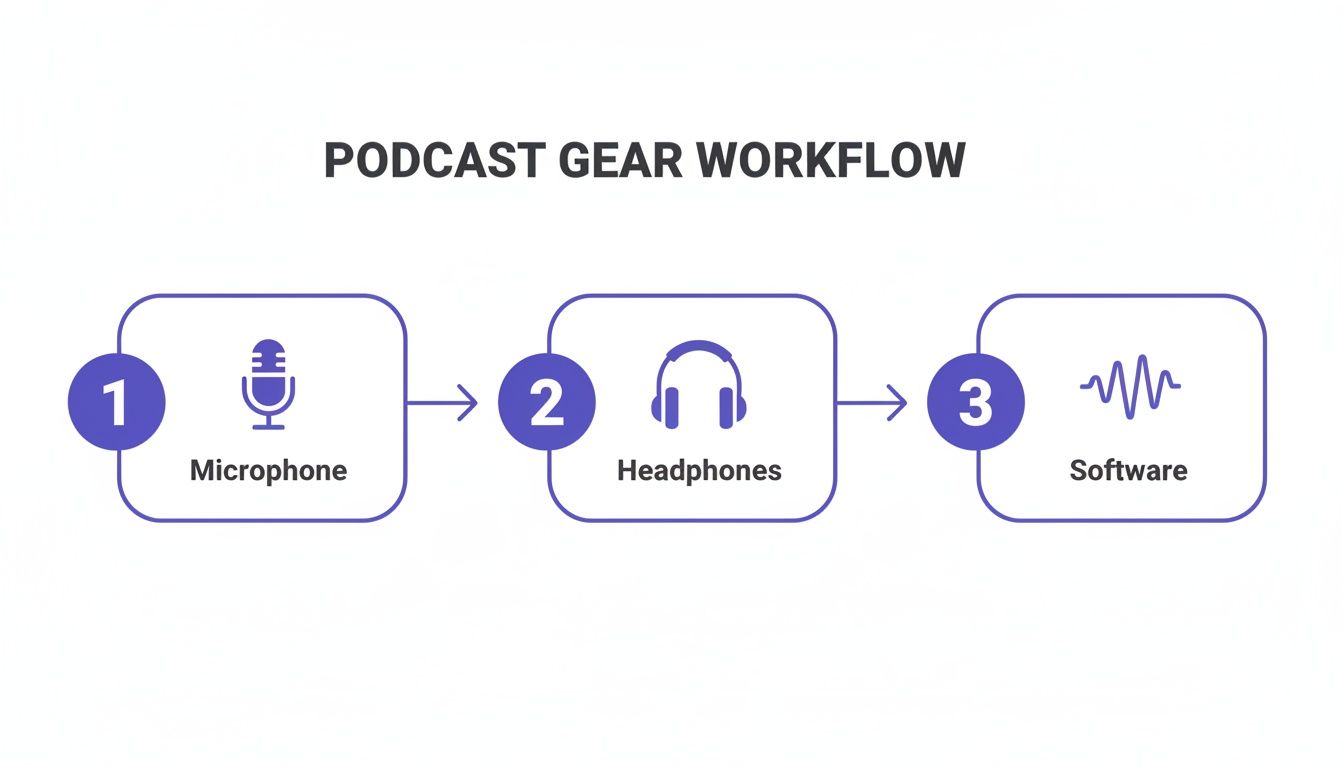
Figure 2: The basic podcast workflow moves from capturing audio with a microphone to monitoring with headphones and refining in software.
The Four-Step Editing Sequence
Process your audio tracks in this order to achieve consistent, high-quality results. Deviating from this sequence can introduce audio artifacts that are difficult to correct later.
- Noise Reduction: Isolate a few seconds of room tone where no one is speaking. Use your software's noise reduction tool to "learn" this sound, then apply it to the entire track to remove background hiss. This creates a clean audio baseline.
- Equalization (EQ): Shape the vocal tone for clarity. Apply a high-pass filter around 80-100 Hz to cut low-frequency rumble. Then, add a gentle boost in the 1-3 kHz range to increase vocal presence and intelligibility.
- Compression: Even out volume levels. A compressor reduces the volume of the loudest parts and increases the volume of the quietest parts, narrowing the dynamic range. A 3:1 ratio with a -18dB threshold is a standard starting point for spoken word.
- Normalization (Loudness Targeting): Set the final overall volume to meet industry standards. This is the most critical step for ensuring your show sounds professional across all platforms.
Hitting the Loudness Standard
Major podcast platforms normalize audio to create a consistent listening experience. If your show is too quiet, they will increase its gain, amplifying any residual background noise. If it is too loud, they will compress it, crushing your dynamics. You must hit the target before you export.
The industry standard for stereo podcast audio is -16 LUFS (Loudness Units Full Scale). For mono audio, the target is -19 LUFS. Adhering to these specifications ensures your show sounds as intended on Spotify, Apple Podcasts, and YouTube.
Use a loudness meter plugin to verify your final mix. This check ensures platforms play your audio without altering its sound. For creators producing video, mixing for mobile devices requires a different approach; see our guide on mobile-first audio mixing.
Getting Your Podcast Hosted and Distributed
An audio file on your computer is not a podcast until it is hosted and distributed. This process connects your finished episodes to a global audience on platforms like Spotify and Apple Podcasts.
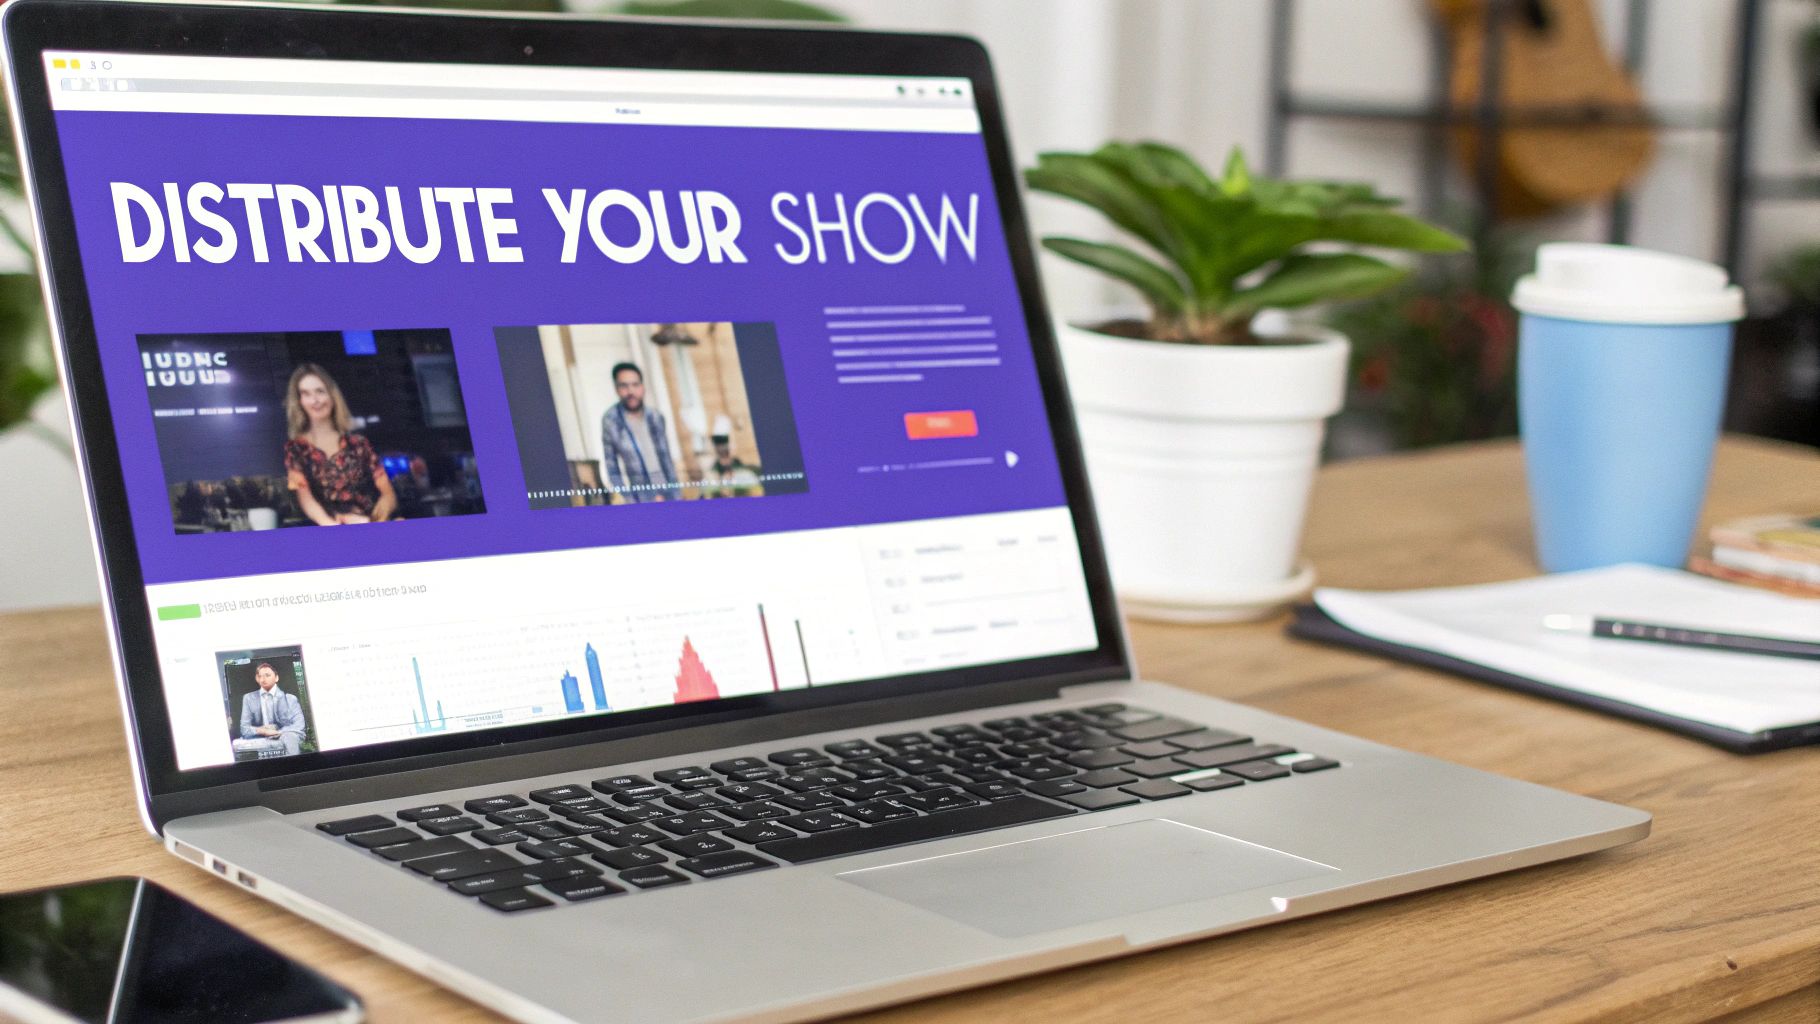
Figure 3: Podcast hosting platforms store your audio files and generate the RSS feed needed for distribution to directories like Apple Podcasts and Spotify.
A specialized podcast host stores your MP3 files and generates a unique RSS feed. This feed is a link that automatically notifies podcast directories when a new episode is published. This is a non-negotiable step.
Setting Up Your Show for Discovery
Before distribution, you must prepare your show's metadata. This information populates your podcast's page in all directories and is critical for first impressions and searchability.
Prepare these assets for your podcast host:
- Podcast Title: Make it memorable and descriptive of your content. "Creator Economy Insights" is more effective than "My Weekly Show."
- Author/Host Name: Use the same name or brand handle as your other content platforms.
- Show Description: A keyword-rich summary (2-4 sentences) that explains the show's value proposition.
- Cover Art: A square image, 3000x3000 pixels, in JPEG or PNG format. Ensure text is legible at small sizes (e.g., 55x55 pixels).
The Distribution Workflow
After entering your show's details on your hosting platform, you submit your RSS feed to the major podcast directories. This is a one-time process for each directory.
- Find Your RSS Feed URL: Your host (e.g., Libsyn) will provide this unique URL in your dashboard.
- Submit to Major Directories: Create accounts with services like Apple Podcasts Connect and Spotify for Podcasters. Follow their instructions to submit your RSS feed.
- Wait for Approval: Apple manually reviews new podcasts, which can take 24-48 hours. Spotify's approval is typically faster, often within a few hours.
Distribution is as critical as your microphone. Submit your feed to at least 5-10 directories to maximize reach. Spotify commands 35% of all U.S. monthly podcast users, making it an essential platform. You can find more podcast statistics at TVEyes.com.
Planning and Promoting Your Content for Growth
Audio quality is the baseline; a content and promotion strategy drives growth. This section covers structuring episodes to retain listeners and repurposing audio to build an audience on visual platforms.
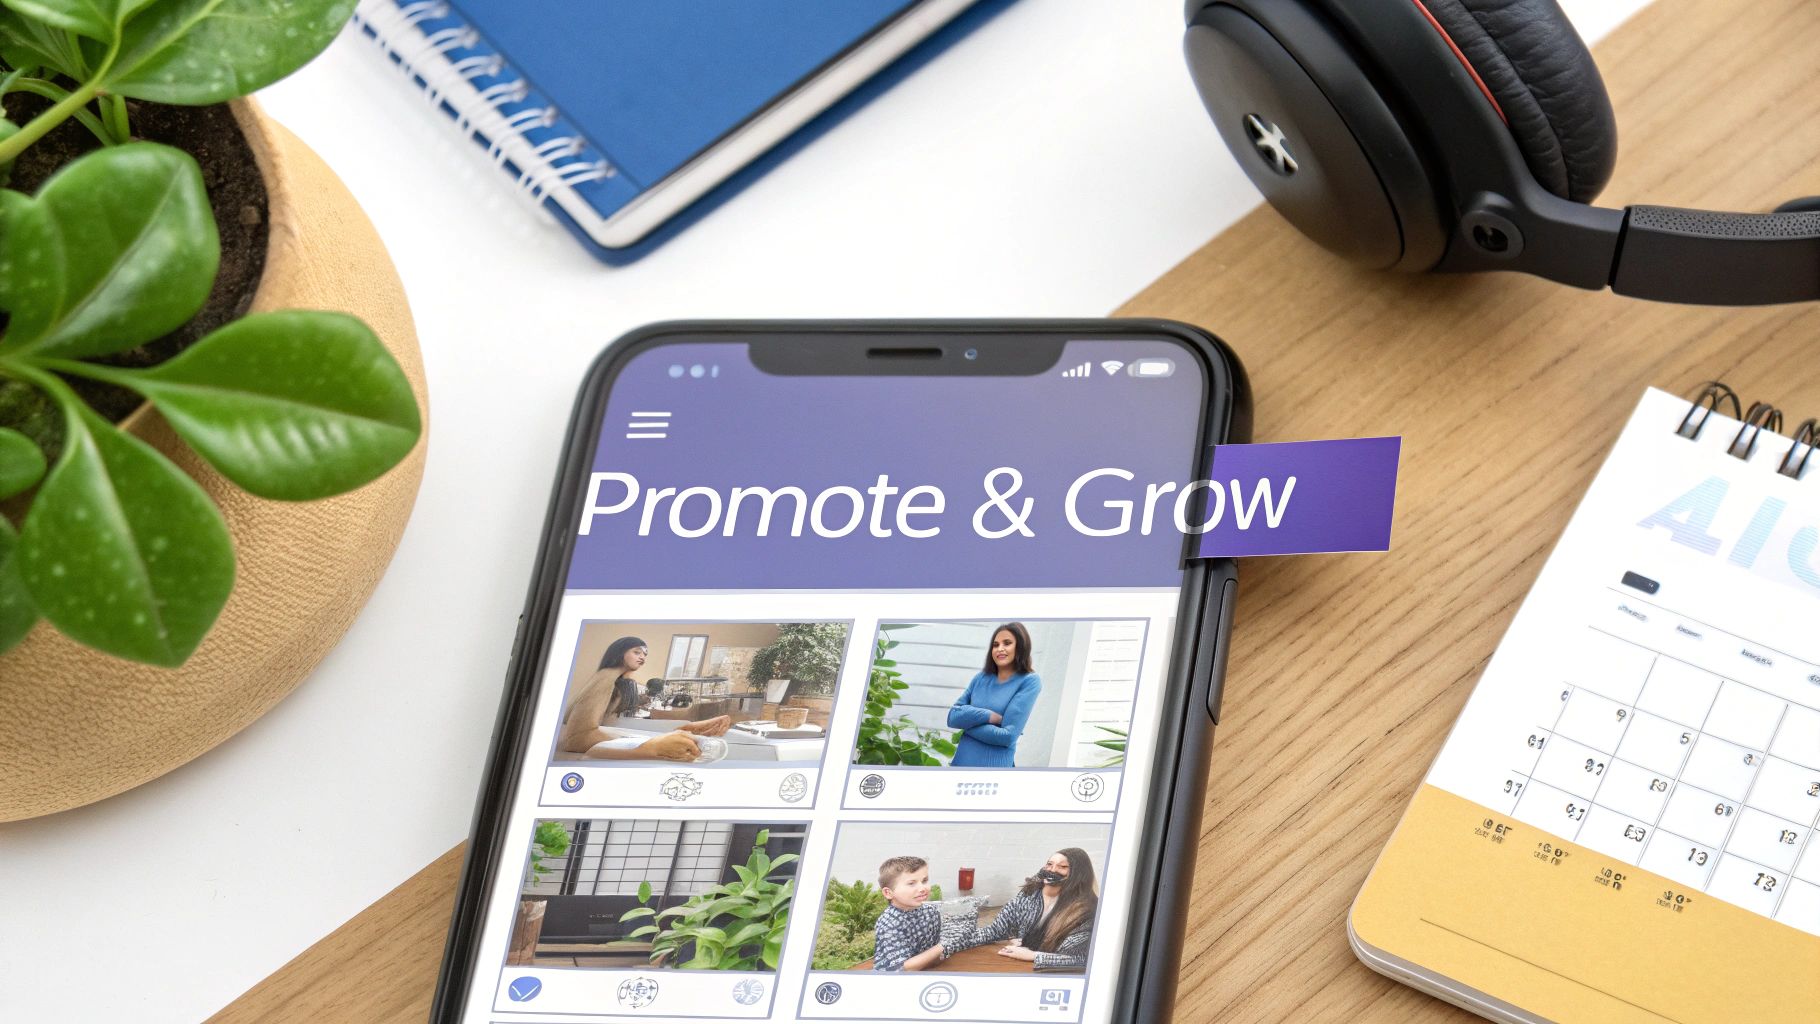
Figure 4: A strategic promotion plan involves repurposing audio content for visual platforms like Instagram, TikTok, and YouTube.
A scripted intro that delivers value in the first 30-60 seconds is non-negotiable for reducing listener drop-off. For episode length, aim for 20-40 minutes, a range that accounts for 30% of top-performing shows and aligns with common listening habits like commutes. Stay informed by checking the latest podcast industry benchmarks.
Structuring Episodes for Retention
Listener retention is determined by your episode structure. Design each episode to capture and hold attention.
- The Initial Hook (0-60 seconds): Start with a compelling question, a surprising statistic, or a preview of the episode's key takeaway. This answers the listener's question: "Why should I keep listening?"
- The Content Body: Break your main content into logical segments. Use audio cues like musical transitions or verbal signposts ("Next, we will cover...") to guide the listener and maintain momentum.
- The Call-to-Action (CTA): End each episode with a single, clear action. Ask listeners to subscribe, leave a review, or visit a specific URL. Overloading with multiple requests reduces the likelihood of any action being taken.
Repurposing Audio for Visual Platforms
Your podcast audio is a source for promotional assets. Repurposing content allows you to reach new audiences on TikTok, Instagram, and YouTube Shorts. The goal is to extract short, high-impact moments that stand alone as compelling video clips.
Manually finding these segments is inefficient. A specialized workflow is required. Our guide on how to find quotable moments in long videos provides a step-by-step process for this task.
For example, I tested this on a 62-minute interview. Manually scrubbing for clips took 25 minutes. Using a transcript-based tool to search for keywords and identify high-inflection segments reduced that time to under 5 minutes, yielding 4 high-quality clips ready for video production.
Common Mistakes & Fixes
Several predictable issues can undermine a new podcast. Addressing them proactively will differentiate your show from amateur productions.
Issue → Inconsistent Audio Levels
One speaker is significantly louder than another, or intro music overpowers dialogue. Listeners are forced to adjust their volume constantly.
- Fix: Process each vocal track separately with its own EQ and compression. Once levels are consistent, mix the music underneath the dialogue, reducing its volume by -18dB to -26dB. Normalize the final stereo mix to -16 LUFS.
Issue → Background Noise and Echo
The recording contains distracting hiss, computer fan noise, or room reverberation (echo).
- Fix: Use a dynamic microphone and position it 2-4 inches from your mouth to maximize voice capture and minimize room sound. In post-production, use a noise gate with a threshold set just above your background noise level (e.g., -50dB) to automatically silence hiss between spoken words.
Issue → Poor Search Visibility
Your podcast does not appear in search results for relevant topics on Spotify or Apple Podcasts, limiting organic growth.
- Fix: Write detailed, keyword-rich show notes for every episode. Use specific titles like "Episode 24: Advanced YouTube Thumbnail A/B Testing" instead of "Episode 24." A tool like our free Description Template Builder can help structure this metadata for search algorithms.
Podcasting FAQs: Your Questions Answered
How do I improve my room's sound for recording?
You must control reverberation (echo) and ambient noise. Soft surfaces absorb sound waves. A small room with carpet, curtains, and furniture is a good start. A walk-in closet filled with clothes is an effective ad-hoc vocal booth.
To further dampen sound:
- Hang heavy blankets on walls to absorb reflections.
- Turn off or unplug sources of noise like air conditioners, refrigerators, and loud computer fans during recording.
Test your room by clapping once. If you hear a sharp, metallic echo, you need to add more sound-absorbing materials.
What is the correct way to record remote interviews?
Record each participant's audio locally on their own computer to avoid internet-related artifacts like lag, dropouts, and compression.
Services like Riverside.fm or Zencastr facilitate this process. They record each person’s microphone directly to their local machine in high quality. After the call, the uncompressed audio files are uploaded to the cloud for you to download. Also, require that your guest wears headphones to prevent audio from their speakers from bleeding into their microphone, which creates an unfixable echo.
How often should I publish new episodes?
For a new show, consistency is more important than frequency. The standard for most podcasts is one episode per week. This schedule is frequent enough to build a listening habit with your audience but manageable enough to prevent creator burnout. Use batching: record four episodes in one session to create a month's worth of content.
What is the best way to monetize a new podcast?
For new creators, direct listener support is the most effective initial monetization strategy. It requires a dedicated, not necessarily large, audience. Platforms like Patreon or Buy Me a Coffee allow fans to provide support through small, recurring payments.
Affiliate marketing is another viable strategy. Discuss products and services you use and provide listeners with a unique link or promo code. This generates commission from sales and is an authentic way to earn income with a smaller audience.
How do I choose between a solo, interview, or co-hosted format?
The decision depends on your content goals and workflow preferences.
- Solo: Best for establishing subject matter expertise. Offers maximum control and simplest logistics. Requires strong self-scripting and delivery skills.
- Interview: Best for leveraging the audience of guests. Introduces new perspectives. Requires strong research, outreach, and conversation skills.
- Co-hosted: Best for dynamic conversations and chemistry. Distributes the content creation workload. Requires excellent chemistry and scheduling alignment.
At ClickyApps, we build browser-based tools to help creators produce professional content faster. Explore the full toolkit at https://clickyapps.com.
Related Tools:
- Shorts Clip Finder
- Description Template Builder
- Video Idea Generator
- Thumbnail Analyzer