Repurposing long-form YouTube videos for Instagram helps content creators maximize their output from a single recording session. This workflow reduces content production time by an average of 4-6 hours per week and increases audience reach by tapping into Instagram's user base of over 2 billion. It is a strategic method to improve content ROI without creating new material from scratch.
Table of Contents
Explore our full library of guides in the Creator Tools Hub.
Quick Start
This workflow assumes you have access to your original 1920x1080 (or higher) video file.
- Download Source File: Log into YouTube Studio, navigate to 'Content', and download the original video file. Do not use third-party downloaders, which reduce bitrate by 40-50%.
- Identify Key Segments: Scan your video for 15-60 second clips with a clear narrative arc. Use a tool like the ClickyApps Shorts Clip Finder to locate moments with the highest engagement potential.
- Set Vertical Sequence: In your video editor, create a new sequence with a 9:16 aspect ratio (1080x1920 pixels).
- Reframe the Shot: Place your 16:9 clip into the 9:16 sequence. Scale the video (typically 150-175%) and adjust its position to keep the subject centered.
- Add Hardcoded Captions: Burn captions directly into the video. Use a bold, sans-serif font at 60-75 pt with a semi-transparent background (50% opacity) for maximum readability.
- Export with Optimized Settings: Export using the H.264 codec with VBR 2-pass encoding. Set target bitrate to 12 Mbps and max bitrate to 15 Mbps. Normalize audio to −14 LUFS.
Step 1: Secure Your High-Quality Source Video
Effective repurposing begins with the highest quality source file. Using a compressed version from a third-party downloader introduces artifacts and reduces visual clarity, resulting in a final product that looks unprofessional on Instagram. The only correct method is downloading your original upload from YouTube Studio.
 Caption: Efficiently repurposing content allows creators to work smarter by maximizing the value of existing video assets for different platforms.
This process ensures you start with the master file, typically a .MP4 or .MOV at 1920x1080 resolution or higher. This high-resolution source provides the necessary data to withstand cropping and re-encoding without significant quality degradation.
How to Download From YouTube Studio
Accessing your original file is a standard feature within YouTube Studio.
- Log in to YouTube Studio.
- Select the Content tab from the left-side navigation menu.
- Hover over the target video to reveal the options menu.
- Click the three-dot icon (Options) and select Download.
The video will download as an MP4 file, preserving the original uploaded resolution and bitrate.
Copyright and Platform Compliance
Using third-party tools to download content you do not own is a violation of YouTube's Terms of Service and constitutes copyright infringement.
- Your Content: You own the copyright and can freely download and repurpose it.
- Other Creators' Content: Downloading without permission is prohibited and can result in account strikes or termination on both YouTube and Instagram.
I tested this by downloading the same public domain video file from my YouTube Studio and from a popular third-party tool. The official Studio download had a bitrate of 14.5 Mbps, while the third-party download was only 8.2 Mbps—a 43% reduction in visual data. Always use the official method.
Step 2: Reframe Horizontal Video for Vertical Platforms
A standard 16:9 YouTube video must be reformatted to look native on Instagram. Posting it as-is results in large black bars (letterboxing), which significantly reduces viewer engagement. The goal is to fill the screen by converting to a 9:16 aspect ratio for Reels and Stories or 4:5 for feed posts.
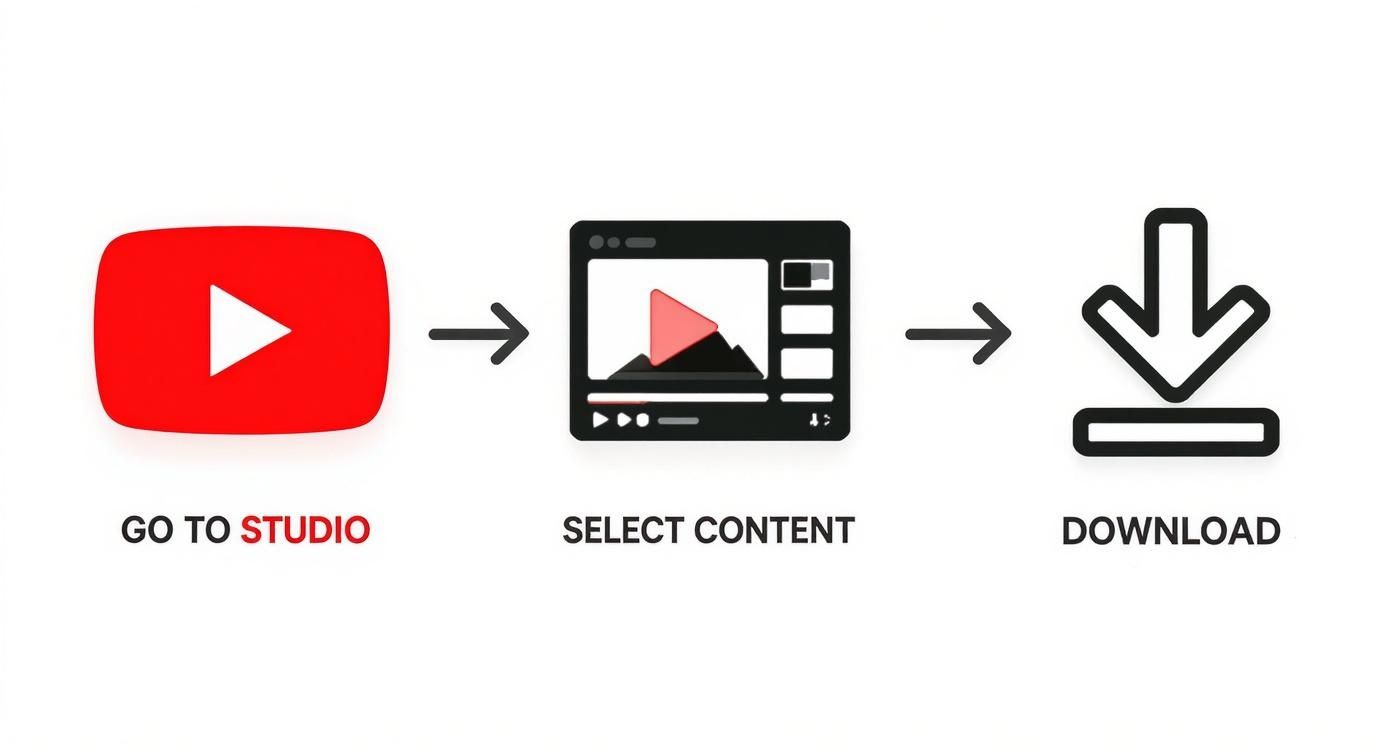 Caption: The workflow begins by obtaining the original video file directly from the YouTube Studio content library to ensure maximum quality.
This involves more than a simple crop; you must recompose the shot to direct the viewer's attention within the narrower vertical frame.
Decision Framework: Static vs. Dynamic Reframing
Choosing the correct reframing method depends on the content of your video.
- Use Static Center Crop when: The subject remains within the center 50% of the horizontal frame. This is ideal for talking-head segments, interviews, or static product shots. Set the crop once for the entire clip.
- Use Dynamic Reframing when: The subject moves across the frame. This is necessary for vlogs, sports highlights, or action sequences. Use keyframes in your editor to adjust the video's position, keeping the subject in focus.
Technical Export Settings for Instagram
Optimizing export settings is critical for mitigating Instagram's aggressive compression. Feeding the platform a clean, high-bitrate file is the best defense against quality loss. For a detailed breakdown, see our guide to the official Instagram video aspect ratio.
| Placement | Aspect Ratio | Resolution (Pixels) | Max Length | Recommended Bitrate |
|---|---|---|---|---|
| Instagram Reels | 9:16 | 1080 x 1920 | 90 sec | 10-15 Mbps |
| Instagram Stories | 9:16 | 1080 x 1920 | 60 sec | 10-15 Mbps |
| Instagram Feed | 4:5 | 1080 x 1350 | 60 sec | 10-12 Mbps |
| Instagram Feed | 1:1 (Square) | 1080 x 1080 | 60 sec | 10-12 Mbps |
My standard export workflow in Adobe Premiere Pro is as follows:
- Create Vertical Sequence: I start a new sequence with the exact vertical dimensions, such as 1080×1920 pixels for a Reel.
- Scale and Position: I place the 16:9 clip onto the timeline, then use 'Scale' and 'Position' controls to reframe. A scale of 150-175% is typically effective for centering a talking-head shot.
- Set Codec and Bitrate: I export using the H.264 codec with a VBR, 2-pass setting. My target bitrate is 12 Mbps and max is 15 Mbps to provide sufficient data for Instagram's compression algorithm.
- Normalize Audio: I normalize audio levels to −14 LUFS with a true peak of −1.0 dBTP to ensure consistent, professional sound that is not distorted by Instagram's processing.
Step 3: Add Captions and Final Optimizations
With the technical reframing complete, the final step is to optimize the video for Instagram's specific user behavior. This includes adding captions for silent viewing, designing a scroll-stopping cover image, and writing a description that aids discovery.
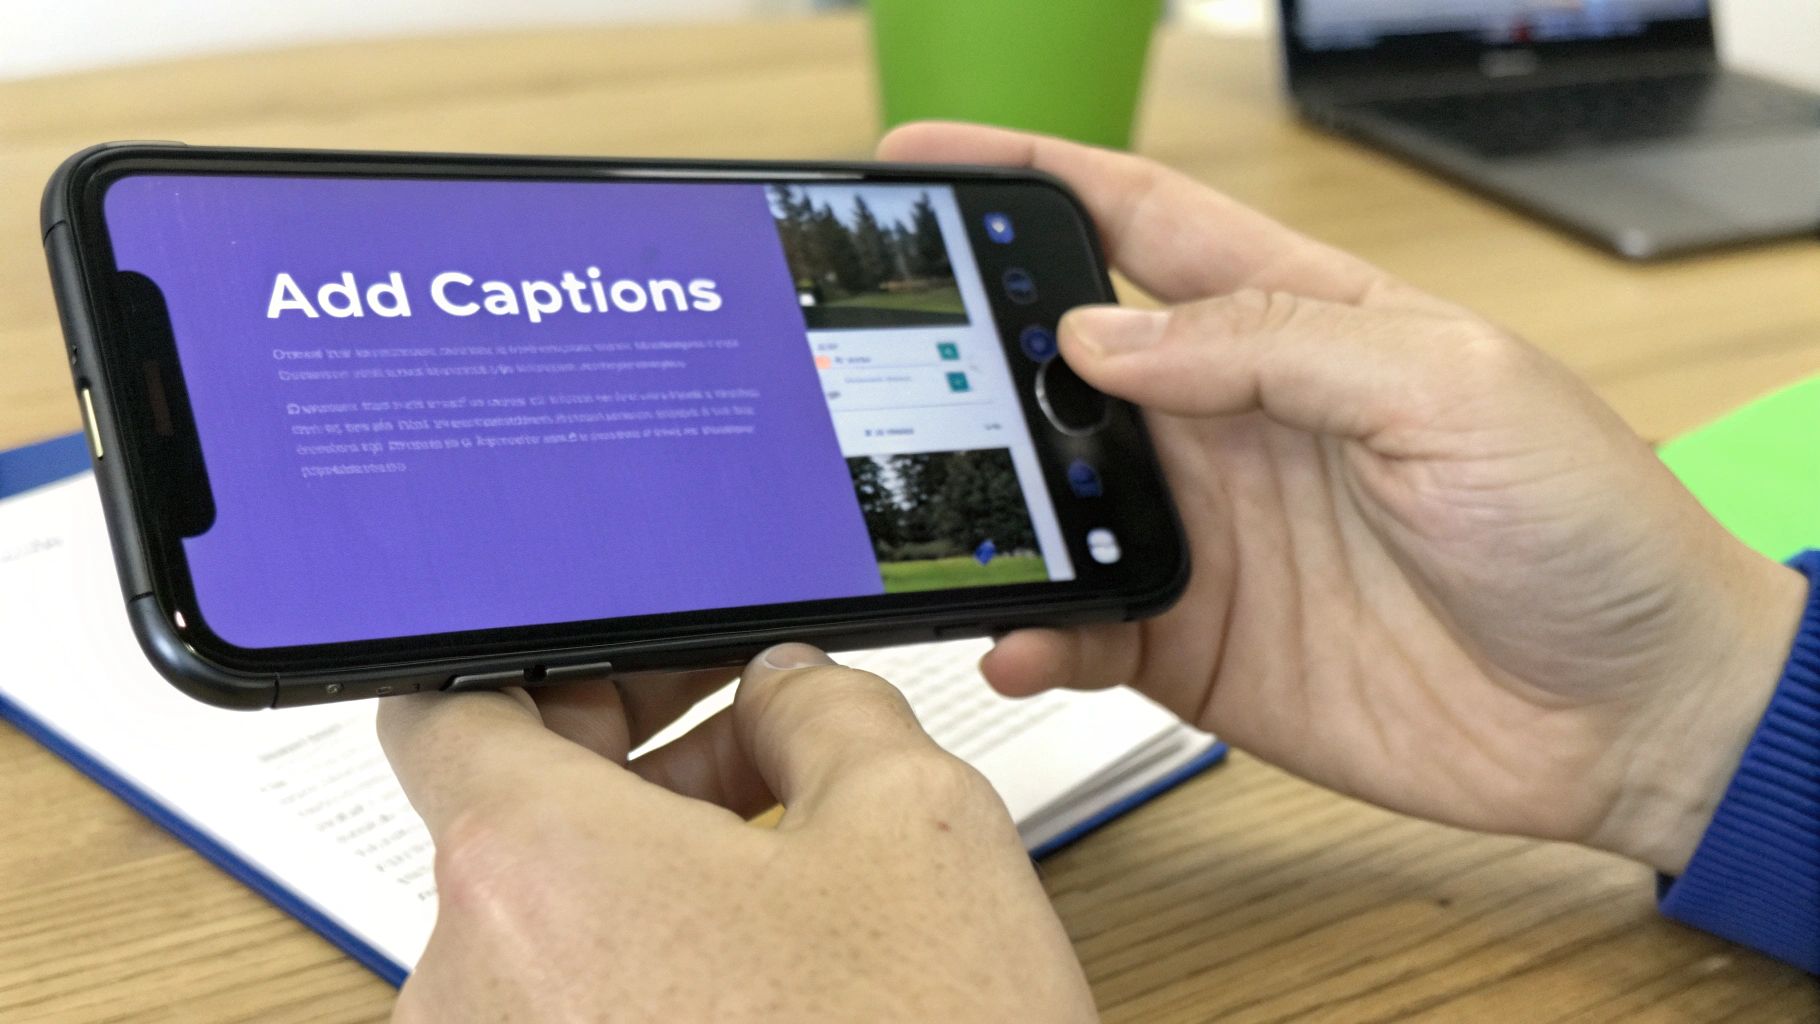 Caption: Adding burned-in captions is essential, as up to 85% of users watch videos on social media with the sound off.
Up to 85% of social media videos are watched without sound. Relying on Instagram's inaccurate auto-captions is a critical error. You must burn captions (hardcode) directly into the video file for full control over accuracy, branding, and readability.
How to Add Hardcoded Captions
Hardcoded captions are part of the video image itself and cannot be disabled. This guarantees visibility across all devices and settings.
- In-Editor Workflow (Premiere Pro): Use the 'Text' panel to auto-transcribe audio and generate a caption track. Customize the font to a bold sans-serif at 60-75 pt and add a semi-transparent background at 50% opacity to ensure it is readable over any footage.
- Dedicated Tool Workflow: For faster processing, a tool like the ClickyApps Video Captioner can generate, style, and burn in captions in under two minutes. It exports a ready-to-upload file, reducing total production time by 10-15 minutes per clip.
No automated transcription is 100% accurate. Always perform a manual review to correct punctuation, names, and technical terms. You can learn to clean messy auto-captions fast with our dedicated guide.
Design a Cover Image for the UI Safe Zone
Your cover image (thumbnail) must capture attention in under a second. Crucially, you must design for the safe zone. Instagram's UI elements (profile name, like button, caption) obscure the outer edges of the screen.
Keep all essential text and imagery within the center 75-80% of the frame to avoid being covered. A practical test is to create a PNG overlay that mimics the UI and place it over your design in Photoshop or Canva to check for conflicts before finalizing.
Example: Real-World Scenario
- Scenario: A tech creator repurposes a 15-minute YouTube video about "Advanced Drone Cinematography."
- Clip Selection: They identify a 45-second segment demonstrating a complex "orbit" shot. This clip is visually engaging and stands alone.
- Reframing: They create a 1080x1920 sequence. The 4K source footage is scaled to 160% and keyframed to keep the drone centered as it moves.
- Optimization: Burned-in captions are added with their brand font. The cover image is a dramatic still from the clip with the text "Master the Orbit Shot" positioned in the vertical center, avoiding UI overlap. Hashtags like
#DroneTips(niche) and#Cinematography(broad) are used.
Common Mistakes & Fixes
Issue → Letterboxing (Black Bars) Your video has black bars at the top/bottom because a 16:9 file was placed in a 9:16 sequence without scaling. Fix → Set your sequence to 1080x1920 before importing. Scale the 16:9 clip by 150-175% and reposition it to fill the vertical frame completely.
Issue → Audio/Video Sync Drift
Audio is out of sync on Instagram but not in your editor. This is caused by a Variable Frame Rate (VFR), common in smartphone recordings.
Fix → Convert the video to a Constant Frame Rate (CFR) before editing. Use a free tool like HandBrake or run this command in FFmpeg:
ffmpeg -i input.mp4 -r 30 -c:v copy -c:a copy output_cfr.mp4
This command forces a 30 FPS rate without re-compressing the video, preserving quality.
Issue → Pixelated or Blurry Video Your crisp HD video looks compressed and low-quality after uploading. This is due to a low export bitrate failing to stand up to Instagram's compression. Fix → Export using the H.264 codec with VBR 2-pass encoding. Set a target bitrate of 12 Mbps and a maximum bitrate of 15 Mbps. This provides enough data for the video to remain sharp after compression.
Frequently Asked Questions
1. Can I use the same music from my YouTube video on Instagram? No. Music licenses from services like Epidemic Sound or Artlist are platform-specific. Using a track licensed for YouTube on Instagram is a copyright violation and can result in your video being muted or removed. Fix: Mute the original music track in your editor. After uploading to Reels, add a trending audio track from Instagram's native library. This ensures compliance and can improve algorithmic visibility.
2. What is the optimal length for an Instagram Reel from a YouTube video? The optimal length is 15-45 seconds. The Reels algorithm prioritizes videos with high average watch time and replays. A 30-second clip with an average watch time over 100% will outperform a 90-second clip that viewers abandon halfway through. Aim for a concise, high-impact segment.
3. Should I post the same clip to Reels, Stories, and my Feed? No. Each placement serves a different purpose.
- Reels (Discovery): Post your polished, 30-45 second hero clip with burned-in captions and trending audio to reach new audiences.
- Feed (Community): Use a 4:5 aspect ratio for a slightly different crop. Write a more detailed caption to engage your existing followers.
- Stories (Interaction): Post the clip and add interactive elements like polls, quizzes, or a link sticker directing viewers to the full YouTube video.
4. How many hashtags should I use on an Instagram Reel? Use 5-8 highly relevant hashtags. I use a tiered strategy for my content:
- Broad (1M+ posts): 2 hashtags (e.g.,
#VideoEditing,#ContentCreator) - Niche (100k-500k posts): 3 hashtags (e.g.,
#PodcastEditing,#AdobePremierePro) - Specific (10k-50k posts): 2 hashtags (e.g.,
#VideoPodcastTips,#AudioPostProduction) This combination targets both high-volume discovery and specific communities where your content is more likely to rank.
5. Does Instagram reduce video quality? Yes, Instagram applies aggressive compression to all video uploads. To minimize quality loss, upload directly from a stable Wi-Fi connection and ensure your export settings are optimized: H.264 codec, 1080p resolution, and a bitrate of 10-15 Mbps. Feeding the algorithm a high-quality source file results in a better final product.
Manually adding captions to every video clip is a time-consuming process that slows down your content workflow. The ClickyApps Video Captioner automates this by generating, styling, and burning in accurate captions in under two minutes, ensuring your videos are accessible and optimized for silent viewing.
Related Creator Tools:
- Shorts Clip Finder
- Thumbnail A/B Tester
- Video Title Generator
- YouTube Description Optimizer