Adding a watermark to your video protects your intellectual property from theft and builds brand recognition across platforms like YouTube and TikTok. This guide provides specific workflows to insert a watermark in a video, ensuring your content is properly attributed without compromising visual quality. We will cover fast browser-based tools, professional desktop editors, and automated command-line methods.
Table of Contents
Explore All Video Creator Tools
Quick Start: Add a Watermark in 60 Seconds
- Open a Browser Tool: Navigate to the ClickyApps Watermark Video tool.
- Upload Assets: Drag your video file and your transparent
.PNGwatermark image into the tool. - Position Watermark: Drag the watermark to a corner, staying within the 90% title-safe area (at least 5% from any edge).
- Set Opacity: Adjust the opacity slider to 40-60%.
- Export Video: Click the export button to render and download the final watermarked video.
Why Watermarking is Non-Negotiable
A watermark is a strategic asset that secures your intellectual property and builds brand equity. For creators, this visual marker provides a persistent, visible claim of ownership, making it significantly harder for others to re-upload your work without attribution—a common issue on social media platforms.
Consistent watermarking turns passive views into potential subscribers. When viewers see your logo on a viral clip, it creates a direct path back to your channel. Properly watermarking your original content is also a critical step in understanding how to avoid copyright strikes on YouTube.
This guide covers practical workflows for:
- Protection: Securing content against theft and "freebooting."
- Branding: Establishing a recognizable identity across platforms.
- Attribution: Ensuring your work is credited back to you.
Figure 1: Watermarking is a key step in protecting your creative assets and building a professional brand.
Decision Framework: Choosing the Right Watermarking Tool
Selecting the correct way to insert a watermark in video depends on the task. The workflow for batch-processing a 20-episode YouTube series is different from watermarking a single Instagram Reel. Your decision must balance control, speed, and volume.
For high-volume, high-quality content, desktop non-linear editors (NLEs) like Adobe Premiere Pro or DaVinci Resolve offer the most control. For quick, one-off social media clips, browser-based tools are more efficient.
Decision Tree: Speed vs. Control
Use this framework to select your workflow.
- Do you need to watermark a single video in under 2 minutes?
- Yes: Use a browser-based tool like the Watermark Video tool. This workflow takes less than 60 seconds and requires no software installation.
- Are you watermarking a long-form video or series for YouTube?
- Yes: Use a desktop NLE. Creating a reusable preset in Premiere Pro or DaVinci Resolve ensures brand consistency and saves time on future projects.
- Do you need to process more than 10 videos at once?
- Yes: Use FFmpeg. This command-line tool is the fastest method for batch processing and offers absolute control over placement and quality.

Figure 2: A decision tree helps you choose between fast, browser-based tools and powerful desktop editors based on your project needs.
Tool Comparison
This table outlines the trade-offs between different watermarking methods. For a deeper analysis, see our detailed guide comparing video editing software.
| Method | Best For | Control Level | Time Investment | Learning Curve |
|---|---|---|---|---|
| Desktop NLEs | YouTube series, client projects | High | 5-10 min/video | High |
| Browser Tools | Single social clips, quick proofs | Low | < 60 sec/video | Low |
| FFmpeg | Batch processing 10+ files | Absolute | < 30 sec/video | Very High |
| Mobile Apps | On-the-go social media posts | Medium | 1-2 min/video | Low |
Method 1: Professional Desktop Editors
For creators working in NLEs, creating a reusable preset is the most efficient workflow. This one-time setup transforms a repetitive task into a single action, ensuring your watermark appears in the exact same position and style across all content.
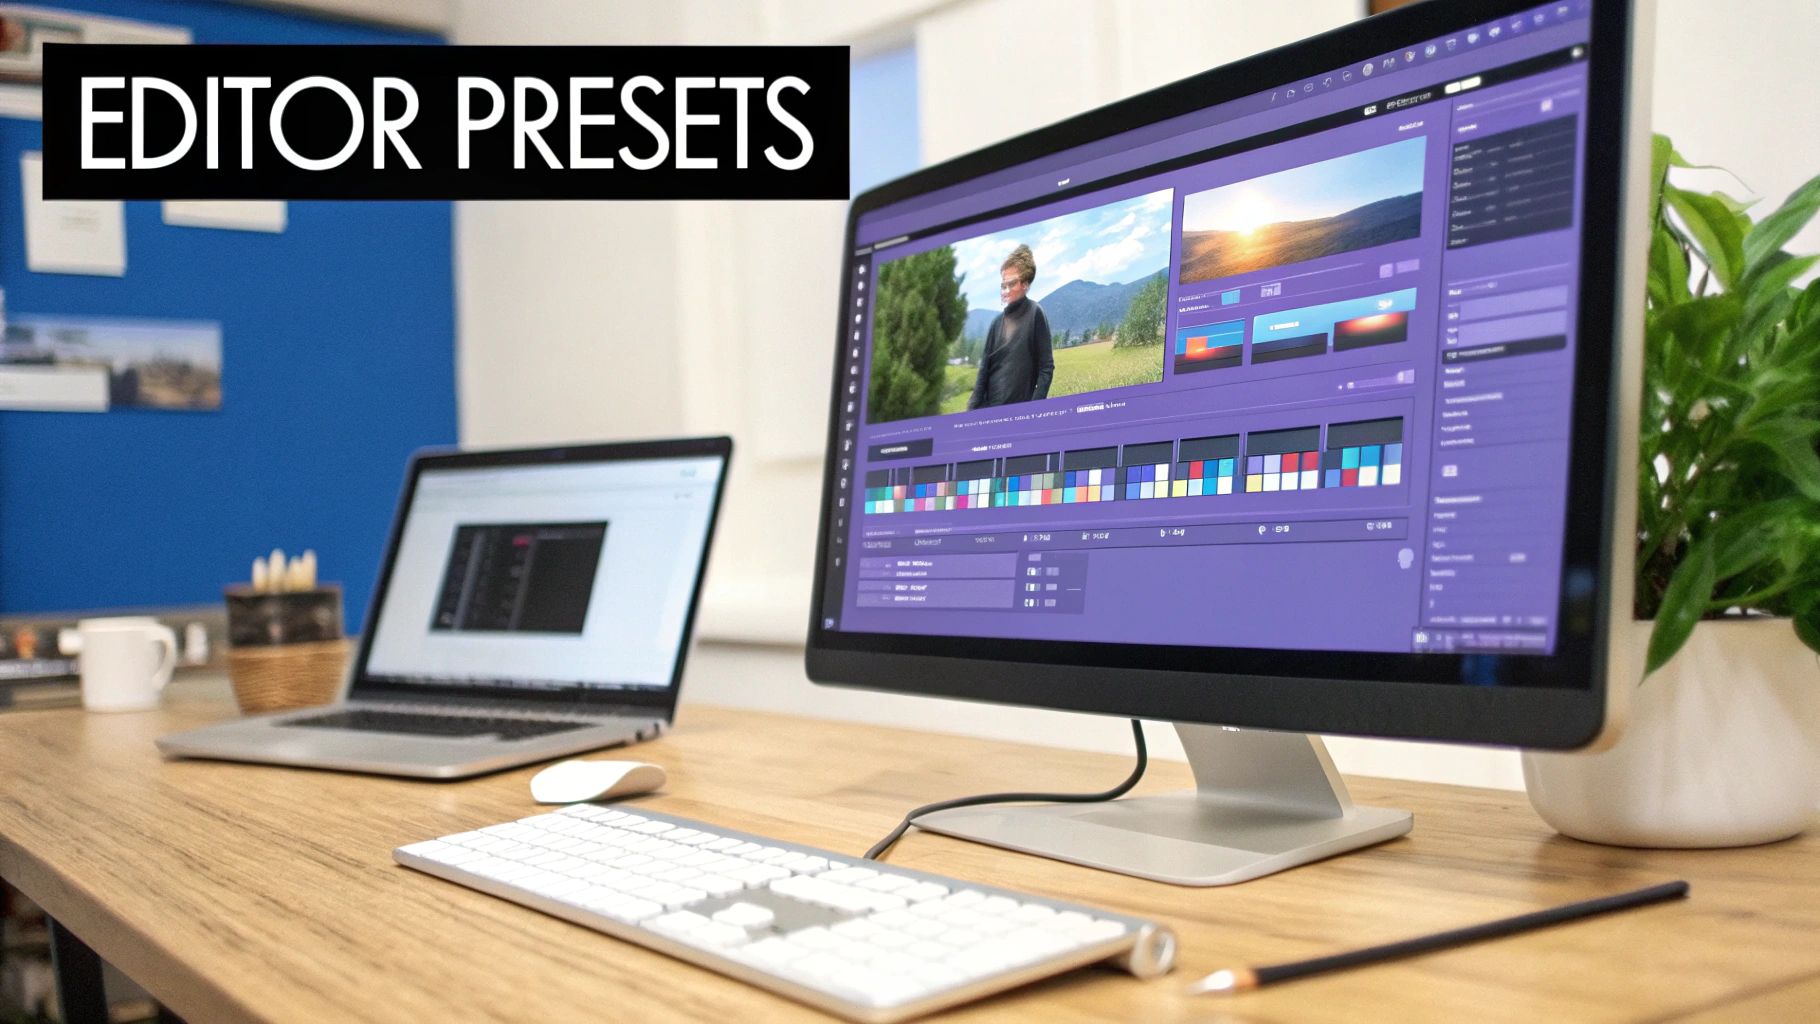
Figure 3: Creating a preset in a desktop editor like Premiere Pro or DaVinci Resolve ensures brand consistency.
Creating a Reusable Preset in Adobe Premiere Pro
In Premiere Pro, an effect preset or Motion Graphics template (.mogrt) makes applying watermarks instantaneous.
- Import and Position: Place your transparent PNG logo on a video track (e.g., V2) above your main footage. In the Effect Controls panel, adjust Position and Scale. A scale of 8-10% of the video's width, positioned 5% from the bottom and right edges, is a standard starting point.
- Adjust Opacity and Blend Mode: Set Opacity to 40-60%. Change the Blend Mode to 'Overlay' or 'Soft Light' to allow the video texture to show through the logo for a more integrated look.
- Save Preset: Right-click the configured logo clip in your timeline and select "Save as Motion Graphics Template." Name it clearly (e.g., "Brand Standard Watermark") and save it to your library. It will now be available in the Essential Graphics panel.
This same logic applies to text-based watermarks. For more on text styling, see our guide on how to add text to a video.
Building a Consistent Watermark in DaVinci Resolve
In DaVinci Resolve, Power Bins make assets available across all projects, which is ideal for watermarks.
- Enable Power Bins: In the Media Pool, click the three-dot menu and select "Show Power Bins."
- Configure Watermark: Drag your PNG logo into a Power Bin, then onto a video track. In the Inspector, set the Zoom (scale) and Position. Set the anchor point to the bottom right for precise placement with negative position values.
- Set Blend and Opacity: In the Inspector's Composite settings, change the Composite Mode to 'Overlay' and reduce Opacity to approximately 50%.
- Save to Power Bin: Drag the configured clip from the timeline back into the Power Bin. This saves all Inspector settings, creating a pre-made watermark you can drop into any future project.
Method 2: Automated Batch Processing with FFmpeg
For watermarking multiple videos, the command-line tool FFmpeg is the most efficient solution. Its overlay filter composites a watermark image onto a video with precise control over placement, size, and timing.
The Core Command for a Static Watermark
This command places logo.png in the bottom-right corner of input.mp4 with 10-pixel padding.
ffmpeg -i input.mp4 -i logo.png -filter_complex "overlay=W-w-10:H-h-10" -codec:a copy output.mp4
Command Breakdown:
-i input.mp4 -i logo.png: Specifies the base video and the overlay image.-filter_complex "overlay=W-w-10:H-h-10": The overlay filter.W-w-10: Calculates the X position (Main video width W - watermark width w - 10px).H-h-10: Calculates the Y position (Main video height H - watermark height h - 10px).
-codec:a copy: Copies the audio stream without re-encoding, reducing export time by 30-50%.
Real-World Example: Watermarking a TikTok Series
I recently needed to watermark a 12-part TikTok series. Doing this in Premiere Pro would have taken over an hour. With FFmpeg, I used a simple script that processed all 12 videos in 2 minutes and 15 seconds. On macOS or Linux, this for loop automates the process for all .mp4 files in a folder:
for f in *.mp4; do ffmpeg -i "$f" -i logo.png -filter_complex "overlay=W-w-10:H-h-10" -codec:a copy "watermarked-$f"; done
This script finds each .mp4 file, applies the watermark, and saves a new file with a watermarked- prefix. For more advanced scripting, see our guide on converting video aspect ratios with FFmpeg. For production pipelines, APIs like Pixelpanda's developer tools can integrate watermarking directly.
Common Mistakes & Fixes
A poorly executed watermark can distract viewers or fail to protect your content. Avoiding these common errors ensures your branding remains professional.

Figure 4: Addressing common placement and quality issues is crucial for effective watermarking.
- Issue → Watermark is distracting and visually loud.
- Fix: Reduce opacity to 30-50%. A semi-transparent watermark is effective but not intrusive. Use a monochrome (all white or all black) version of your logo to minimize visual noise.
- Issue → Social media platforms (TikTok, Instagram) crop the watermark.
- Fix: Position the watermark within the 90% title-safe area. Keep it at least 5% of the frame's width/height away from all edges to avoid being obscured by platform UI elements.
- Issue → Watermark appears blurry or pixelated.
- Fix: Use a high-resolution transparent PNG source file (minimum 500x500 pixels). Never use a JPEG, as it does not support transparency and its compression creates artifacts. The ClickyApps Watermark Video tool processes high-resolution PNGs without quality loss.
- Issue → The entire video quality degrades after export.
- Fix: Increase your export bitrate. For 1080p video, a bitrate of 8-12 Mbps is sufficient to preserve detail in both the video and the watermark overlay. A low bitrate causes blocky compression artifacts.
Invisible watermarking, which embeds tracking data without visual impact, now accounts for approximately 61% of the market according to a North American AI watermarking market report, showing a trend toward more advanced protection methods.
Frequently Asked Questions
What is the best file format and size for a video watermark?
Use a transparent PNG file with a minimum resolution of 500x500 pixels. PNGs support an alpha channel for true transparency, avoiding the background boxes that JPEGs create. Starting with a high-resolution source file ensures the watermark remains sharp when scaled down.
Should the watermark be visible for the entire video duration?
Yes, for maximum protection and brand attribution, the watermark should remain on-screen. A professional technique is to display it at 80-100% opacity for the first 3-5 seconds, then fade it to a lower opacity (30-50%) for the remainder of the video.
How much does a watermark increase the final video file size?
The increase is negligible, typically less than 0.1% of the total file size. Because a static watermark does not change frame-to-frame, video encoders compress it very efficiently. It does not significantly impact file size or upload times.
Can a determined user remove a watermark from my video?
If the watermark is "burned in" (hardcoded), it becomes a permanent part of the video frames. While AI-powered tools exist to remove watermarks, they typically degrade video quality by blurring or smearing the area, leaving obvious evidence of tampering. A semi-transparent watermark placed over a detailed area of the video is significantly harder to remove cleanly than one over a solid color.
Is it possible to use an animated watermark?
Yes. Animated watermarks are typically short video clips with a transparent background (e.g., a .mov file with an Apple ProRes 4444 codec). The animation should be brief (2-3 seconds) and subtle, such as a fade-in or gentle pulse, before settling into a static state to avoid distracting the viewer.
Ready to add a professional watermark in under a minute? The Watermark Video tool runs in your browser, keeps your files private, and delivers a clean result without complex software.
Related ClickyApps Tools:
- Video Compressor
- Add Text to Video
- Video to GIF Converter
- Trim Video
- Auto Subtitle Generator
- Video Speed Changer