Using a green screen allows content creators to replace a physical background with a digital one, enabling professional studio looks or complex visual effects from any location. This process, called chroma keying, significantly reduces production time and costs for creators on YouTube, TikTok, and Instagram. Mastering a few key setup and software steps unlocks total creative control over your video's environment.
Table of Contents
Explore more video production guides in our Creator Hub.
Quick Start Keying Guide
This is the fastest path from raw footage to a finished composite in any video editor.
- Place green screen footage on the top video track and the new background clip on the track below it.
- Apply your editor's chroma key effect (e.g., Ultra Key, 3D Keyer) to the green screen clip.
- Use the effect's eyedropper tool to select a mid-tone green on your backdrop.
- Switch the view to the Alpha/Matte channel.
- Adjust Matte settings (Transparency, Shadow, Highlight) until the subject is solid white and the background is solid black.
- Use Spill Suppression to remove any green halo from the subject's edges.
- Switch back to the Composite view to see the final result.
Building Your Green Screen Studio Setup
A clean chroma key result begins with the physical setup. Correcting issues here saves hours of tedious post-production work. The goal is to create a scene that is easy for software to interpret.
Choosing Your Green Screen Surface
The surface you choose directly impacts setup time and final key quality. Your decision should be based on your available space and portability needs.
For permanent studios, chroma key paint is the superior option. A painted wall or cyclorama provides a perfectly smooth, non-reflective surface that eliminates the need for steaming or stretching fabric, reducing setup time to zero.
For flexible or temporary setups, two options dominate:
- Fabric Screens: Typically made from non-reflective polyester or cotton muslin, these offer the largest surface area for the cost. The primary requirement is stretching the fabric completely taut on a stand to eliminate all wrinkles. Every crease creates a shadow, which complicates the keying process.
- Pop-up Panels: These self-stretching collapsible screens are ideal for small spaces or mobile creators. They guarantee a wrinkle-free surface within seconds. Their main limitation is size, with most models around 5 x 7 feet, suitable only for head-and-shoulders shots of a single person.
Setting Up Your Screen and Subject
Correct spacing prevents green spill—the green halo reflected from the screen onto your subject. It is the most common and difficult artifact to remove in post-production.
- Position your green screen flat against a wall, ensuring it is stretched taut with no wrinkles.
- Place your subject a minimum of 6 feet away from the screen. This distance is non-negotiable as it allows for independent lighting and minimizes reflected green light.
- Position your camera another 6-10 feet in front of the subject. This distance accommodates lenses from 50mm to 85mm, which minimize distortion and keep the screen evenly out of focus.
Real-World Setup Scenarios
Your production setup should adapt to the platform's aspect ratio and content style.
- YouTube Tutorial Setup (16:9): For a seated desk shot, a 9 x 10 foot fabric screen is sufficient. Position the desk 6 feet from the screen to provide ample background coverage for wide shots and hand movements.
- TikTok Dance Setup (9:16): A full-body vertical shot requires a larger 9 x 20 foot screen to cover the subject from head to toe. The 6-foot subject-to-screen distance is critical here, as fast movements can cause fabric ripples that disrupt lighting evenness.
- Portable Instagram Reel Setup (9:16): For a quick talking-head video in a small office, a 5-foot diameter pop-up screen is most efficient. It provides enough clean background for a tight headshot without complex setup.
A well-planned setup is the foundation of efficient production. To structure your shoot, review our guide to creating effective shot lists for short-form video.
Nailing Your Lighting for a Flawless Key
Proper lighting is the most critical factor for a clean chroma key. The core principle is to light the green screen and the subject independently.
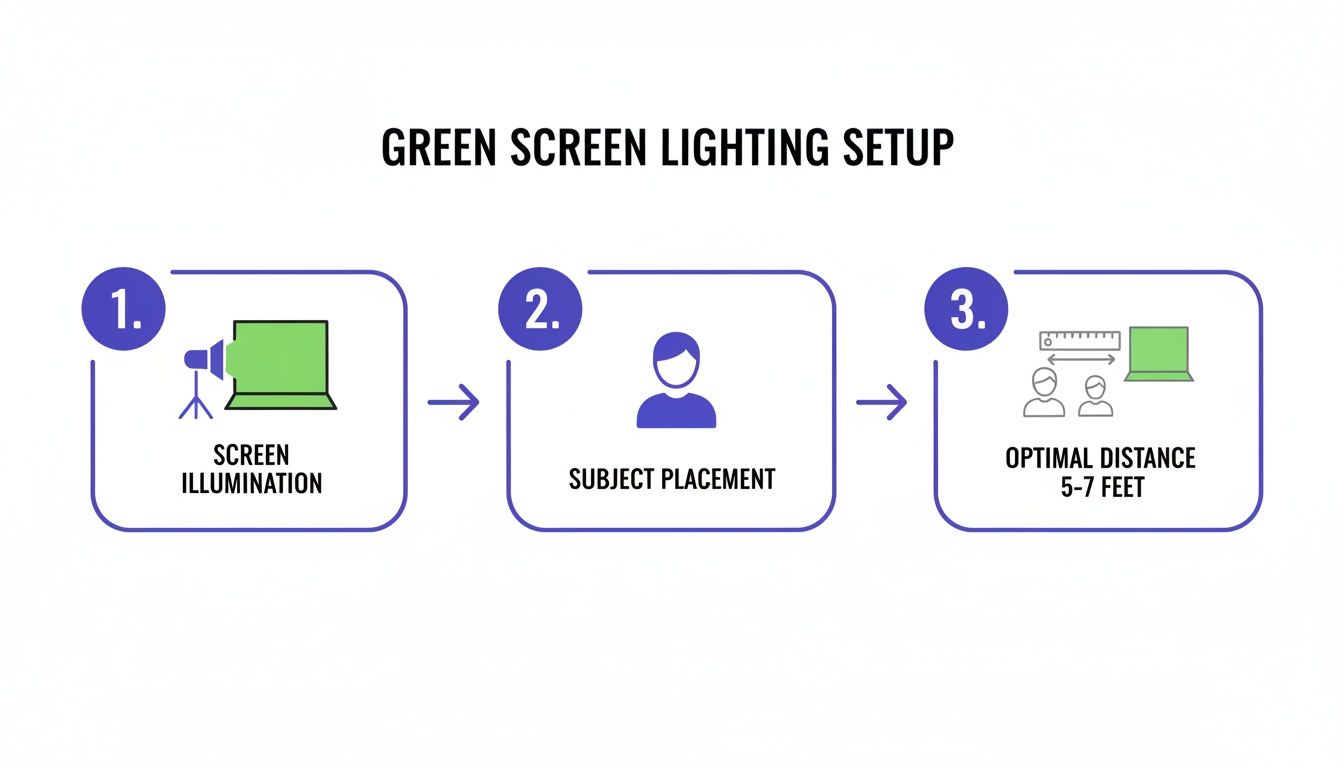
Figure 1: This diagram shows separate lighting for the screen and subject, which is essential to prevent green spill and achieve a clean key.
Lighting the Green Screen
The objective is to illuminate the screen into a single, even shade of green with no shadows or hotspots.
- Place two identical softbox lights, one on each side of the green screen.
- Angle each light inward at a 45-degree angle to the screen.
- Use your camera's waveform monitor to verify evenness. A properly lit screen will produce a flat, horizontal line between 40 and 60 IRE. Spikes or dips indicate hotspots or shadows that must be eliminated.
This technical precision has historical roots. The industry shifted from blue to green screens in the 1970s because the green channel in color film held 60% more luminance information than blue, enabling sharper keys. Today, an evenly lit digital setup can produce 95% spill-free keys directly from the camera. Learn more about the technology's history at Javich.net.
Lighting the Subject
After lighting the screen, turn off the screen lights and light your subject separately. The goal is to create dimension and match the lighting of your intended digital background. The industry-standard three-point lighting setup is the most effective method.
- Key Light: The primary light source, placed at a 45-degree angle to one side of the camera.
- Fill Light: Positioned on the opposite side of the camera at 50-70% of the key light's intensity to soften shadows.
- Back Light: Placed behind the subject and aimed at their head and shoulders. This creates a rim of light that separates them from the background, which is critical for keying hair.
Once your visual setup is complete, ensure your audio quality matches by using a tool like our LUFS Analyzer for audio normalization.
Dialing in Your Camera and Shooting Settings
Incorrect camera settings introduce noise, motion blur, and compression artifacts that ruin a key. Lock your camera in manual mode to prevent exposure fluctuations that cause the green screen's brightness to flicker.
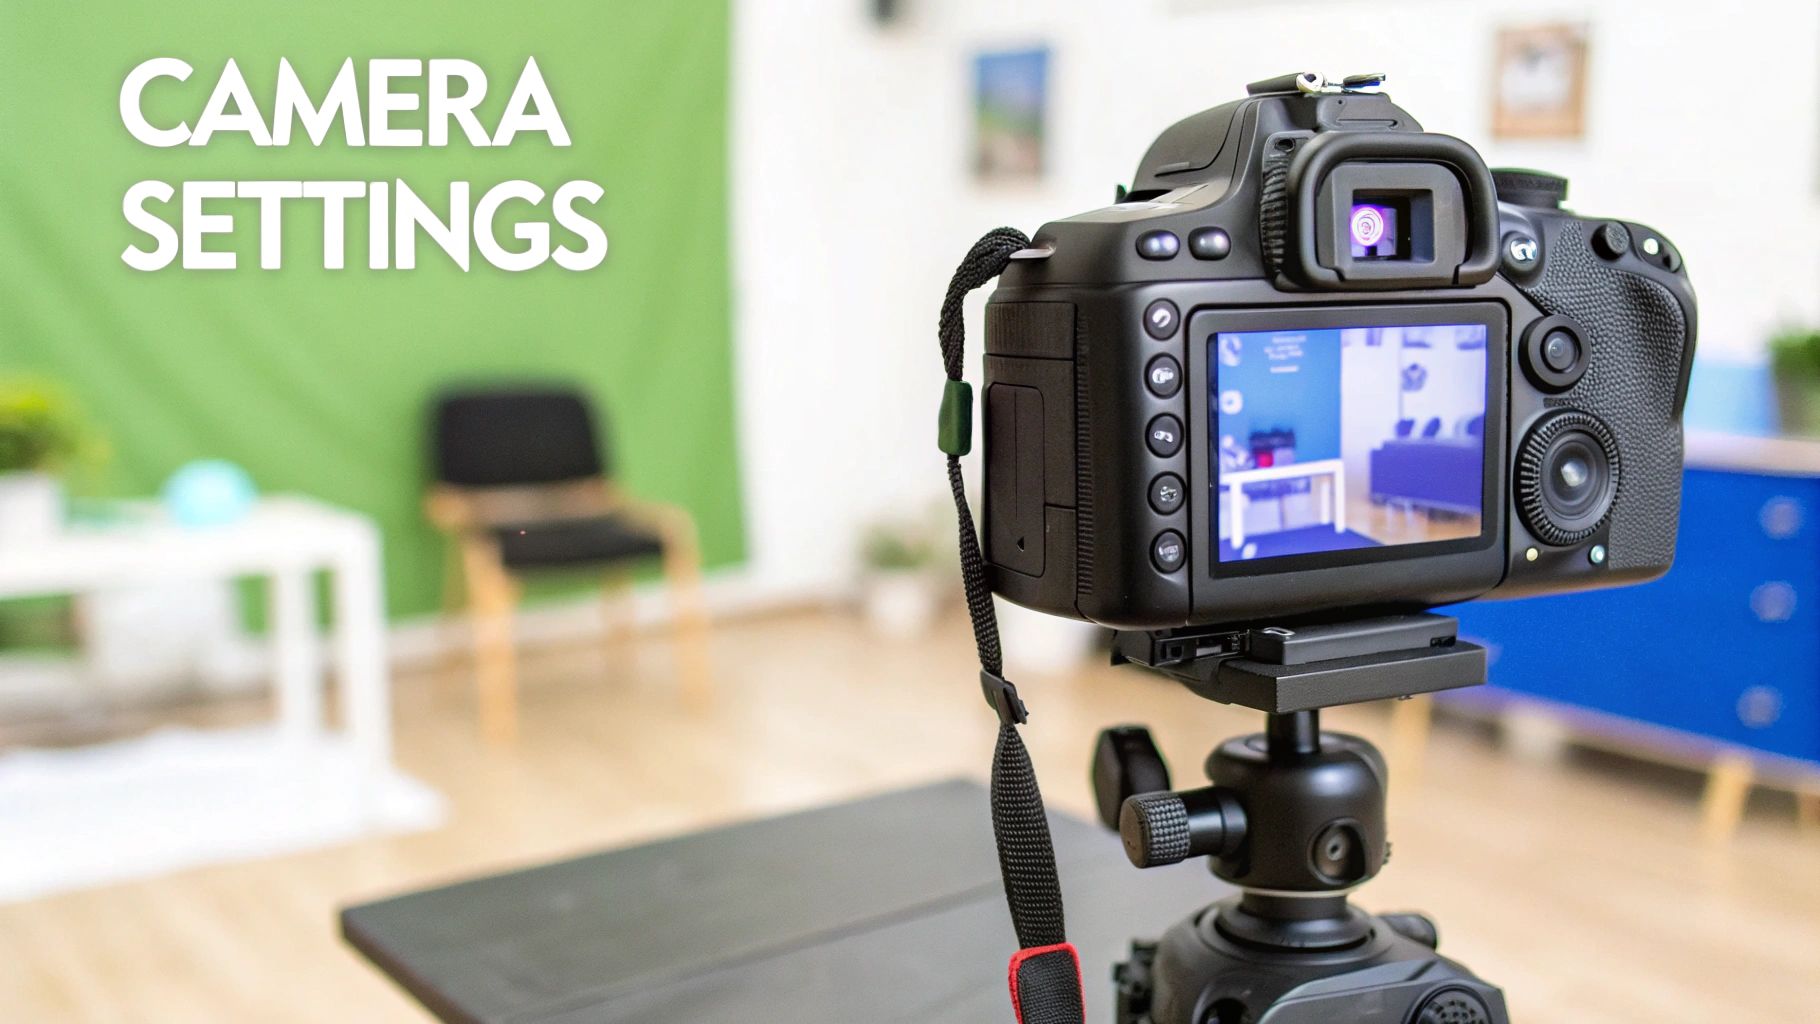
Figure 2: Lock in manual camera settings to ensure consistent exposure and sharpness for clean keying.
Core Camera Settings for a Clean Key
- ISO: Set to the lowest native value, typically 100-400. Higher ISO introduces digital noise that confuses keying software.
- Shutter Speed: Use the 180-degree rule: set your shutter speed to double your frame rate (e.g., 1/60s for 30fps). This provides natural motion blur without creating smears that are difficult to key.
- Aperture (f-stop): Use a range between f/5.6 and f/8. This deeper depth of field ensures both the subject and the green screen are sharp, preventing soft edges that are difficult to isolate.
Data Rate and Color Space
Capture the maximum amount of color information with minimum compression.
Set your camera's bitrate to its highest setting (e.g., 100 Mbps or higher). This preserves fine details like hair and prevents blocky compression artifacts. When possible, record in a format that offers 4:2:2 chroma subsampling instead of the standard 4:2:0. 4:2:2 records twice the color information, resulting in significantly cleaner edges. This is a primary reason why historical green screens on film worked so well; film emulsion was 20-30% more sensitive to green light, allowing for superior detail capture. For more background, see the history of green screen technology on sanguineproduction.com.
On-Set Shooting Techniques
- Avoid Green Clothing and Props: Any green item worn or held will become transparent. Also avoid reflective objects like jewelry, which can pick up green spill.
- Use Tracking Markers for Moving Shots: If the camera is not locked down, place small crosses made of black tape on the screen. These markers provide reference points for motion tracking software, ensuring the digital background moves correctly with the camera.
- Frame for Vertical Video: When shooting for TikTok or Reels, ensure your subject remains within the central 9:16 portion of your 16:9 camera sensor to avoid cropping issues. For a detailed breakdown, see our guide on vertical framing and social media safe zones.
Keying Your Footage in Post-Production
Proper on-set preparation makes this stage fast and efficient. This section provides specific software workflows for isolating your subject and compositing them onto a new background.
*Figure 3: This video tutorial provides a visual walkthrough of the keying process in modern editing software.*Desktop Workflow: Premiere Pro and DaVinci Resolve
Desktop software like Adobe Premiere Pro and DaVinci Resolve 18 provides granular control for high-quality projects intended for platforms like YouTube.
In Premiere Pro, use the Ultra Key effect.
- Use the eyedropper to select the green background.
- Switch the Output view to "Alpha Channel."
- Adjust Matte Generation sliders. A starting point is Transparency: 75, Highlight: 10, Shadow: 25.
- Use Matte Cleanup settings like Choke (1.0-2.0) to refine edges.
- Use Spill Suppression to remove the green halo.
In DaVinci Resolve, use the 3D Keyer on the Color Page. After adding an Alpha Output, use the Qualifier tool to select the green, then refine the matte with precision controls.
Mobile Workflow: CapCut for Social Media
For TikTok and Instagram Reels, mobile editors like CapCut offer fast and effective keying.
- Start a new project with your background video.
- Use the "Overlay" feature to add the green screen clip.
- Select the overlay and choose the "Chroma Key" tool.
- Drag the color picker onto the green screen.
- Adjust the Intensity slider until the green is removed (typically 20-40).
- Adjust the Shadow slider to restore edge detail (typically 5-15).
Mobile keyers are less forgiving of poor lighting, making a perfect on-set setup essential for mobile-first workflows.
Decision Framework: Simple vs. Advanced Keying
Use this framework to select the appropriate keying method.
- Use a Simple Key (CapCut) When:
- The video is for mobile-only viewing (TikTok, Reels).
- The subject has clean, hard edges (no fine hair or transparent objects).
- Your green screen was perfectly and evenly lit.
- The task must be completed in under 15 minutes.
- Use an Advanced Key (Premiere, Resolve) When:
- The video will be viewed on larger screens (YouTube, presentations).
- The subject has fine details like hair or semi-transparent fabric.
- The footage has minor lighting imperfections.
- You need to precisely color-match the subject to the new background.
After keying, optimize your file for faster uploads by learning how to reduce a video file size without losing quality.
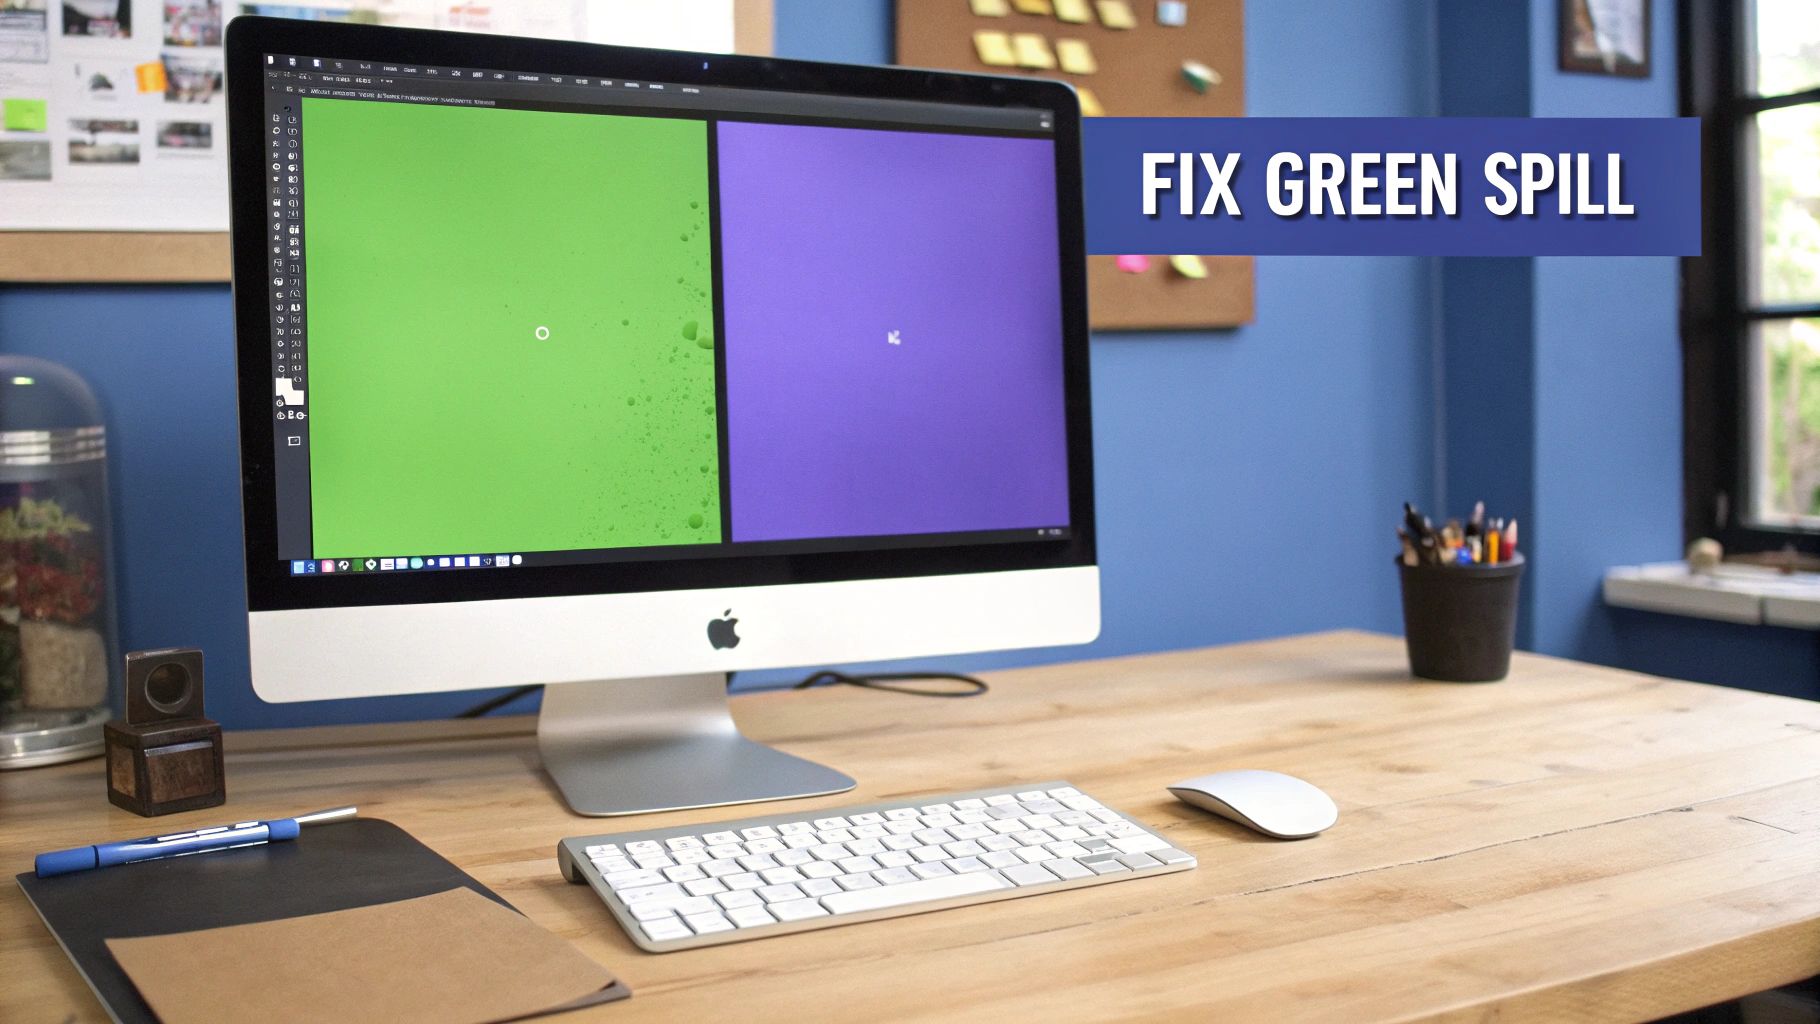
Figure 4: Software tools for spill suppression are crucial for fixing the common green halo effect in post-production.
Common Mistakes and Fixes
Issue → Blotchy or flickering key with patches of green remaining.
Fix → This is caused by uneven screen lighting. On set, use a waveform monitor to ensure lighting is a flat line between 40-60 IRE. In post, you can attempt to fix this with multiple stacked keying effects and masks, but this is a time-intensive process that should be avoided. A reshoot is often faster.
Issue → A noticeable green halo or color spill on the subject's hair and shoulders.
Fix → The subject is too close to the screen. On set, move the subject at least 6 feet away. In post, use your software's Spill Suppression tool. In Premiere's Ultra Key, increase the "Desaturate" value until the fringe disappears. For a 1-foot distance, I observed spill requiring a 45% desaturation, while at 6 feet, it required only 5%.
Issue → The edges of the subject appear jagged or "crawl."
Fix → This indicates low-bitrate recording or excessive motion blur. On set, record at your camera's highest bitrate (100+ Mbps) and keep your shutter speed at double your frame rate. In post, a slight matte "Soften" or "Feather" (1-2 pixels) can help, but the best solution is higher quality source footage.
Issue → The key is removing parts of the subject.
Fix → Your keying parameters are too aggressive. Reduce the sensitivity. In Premiere's Ultra Key, lower the "Transparency" and increase the "Pedestal" setting to recover detail.
Issue → The final composite looks grainy or noisy.
Fix → The camera's ISO was too high. Shoot at the lowest native ISO (100-400). If the footage is already shot, apply a gentle de-noising effect before keying. DaVinci Resolve's Temporal Noise Reduction or a dedicated plugin can clean the footage, providing a better source for the keyer. A clean workflow can be supported by external tools like an SRT Editor to manage captions separately from the intensive visual effects process.
Frequently Asked Questions
1. What is the best green screen for a small room?
A collapsible 5x7 foot pop-up screen. It provides a wrinkle-free surface sufficient for a head-and-shoulders shot and folds down into a 24-inch disc for easy storage, making it ideal for multi-purpose spaces.
2. How do I stop green reflections in glasses?
Increase the subject-to-screen distance to at least 6-8 feet. Position your key light higher and at a steeper angle (around 45 degrees) to shift the reflection out of the camera's line of sight. If a slight tint remains, use an animated mask in post-production to isolate the lenses and desaturate the green channel.
3. When should I use a blue screen instead of green?
Use a blue screen when the subject or a key prop is green (e.g., product packaging, a plant, green clothing). Blue is the next furthest color from human skin tones on the color wheel, which allows for clean separation.
4. How do I get a clean key around fine hair?
Use a strong back light (also called a hair light). Position it behind and above the subject, aimed at their head and shoulders, at approximately 80% of the key light's intensity. This creates a crisp rim of light that cleanly separates hair strands from the background, giving the software a defined edge to key.
5. What is the best software for green screening?
For professional results, Adobe After Effects with its integrated Keylight plugin is the industry standard. For a powerful free alternative, DaVinci Resolve's 3D Keyer is excellent. For fast social media content, CapCut is the most effective mobile tool.
6. Can I fix wrinkles or shadows on my screen in post?
Yes, but it requires creating animated "garbage mattes" to manually mask out problem areas frame by frame. This process is extremely time-consuming and should be considered a last resort. Fixing the screen on set by stretching it taut takes 2 minutes, while fixing it in post can take over an hour for a 30-second clip.
7. How do I match my subject's lighting to the new background?
Apply a color correction effect (e.g., Lumetri Color in Premiere) after the keying effect. Adjust the temperature, tint, exposure, and saturation of your keyed subject layer until their lighting characteristics match the new background plate.
Mastering your green screen workflow reduces production time and elevates your video quality. To further streamline your content creation, ClickyApps offers a suite of tools designed for creators. Handle tasks like audio normalization, caption editing, and file compression with our dedicated apps, freeing you to focus on creative execution.
Explore the complete toolkit at https://clickyapps.com.
Related ClickyApps Tools:
- LUFS Analyzer
- SRT Editor
- Video Compressor
- Audio Normalizer
- Thumbnail Preview Tool
- Text-to-Speech Generator