Optimizing your YouTube thumbnail size helps creators increase click-through rates by ensuring visuals are sharp and load instantly on any device. Following the correct specifications—1280x720 pixels, <2MB file size, and 16:9 aspect ratio—prevents platform compression from degrading image quality, directly impacting viewer engagement and algorithmic performance. This guide provides the exact settings and workflows to produce technically perfect thumbnails.
Table of Contents
Explore more creator guides in our Thumbnails Hub.
Quick Start: Technical Workflow
- Set Canvas: Start with a canvas of 1280 × 720 pixels. Do not use a smaller size and scale up.
- Maintain Aspect Ratio: Ensure your canvas maintains a 16:9 aspect ratio to match the YouTube player.
- Design in Safe Zone: Place all critical text and visuals at least 10-15% inside all edges to avoid being obscured by UI elements like timestamps.
- Choose File Format: Export as JPG for photographic images. Use PNG only for graphics with sharp lines or when transparency is required.
- Optimize File Size: Keep the final file under the 2MB limit. Export JPGs at a quality setting between 75-85 to balance quality and size.
Unpacking the Official YouTube Thumbnail Specs
Your thumbnail is your video's billboard. Getting the technical details right is not about following arbitrary rules—it is about ensuring your content has the best possible chance to be seen. These specifications are the foundation for a high-performing first impression.
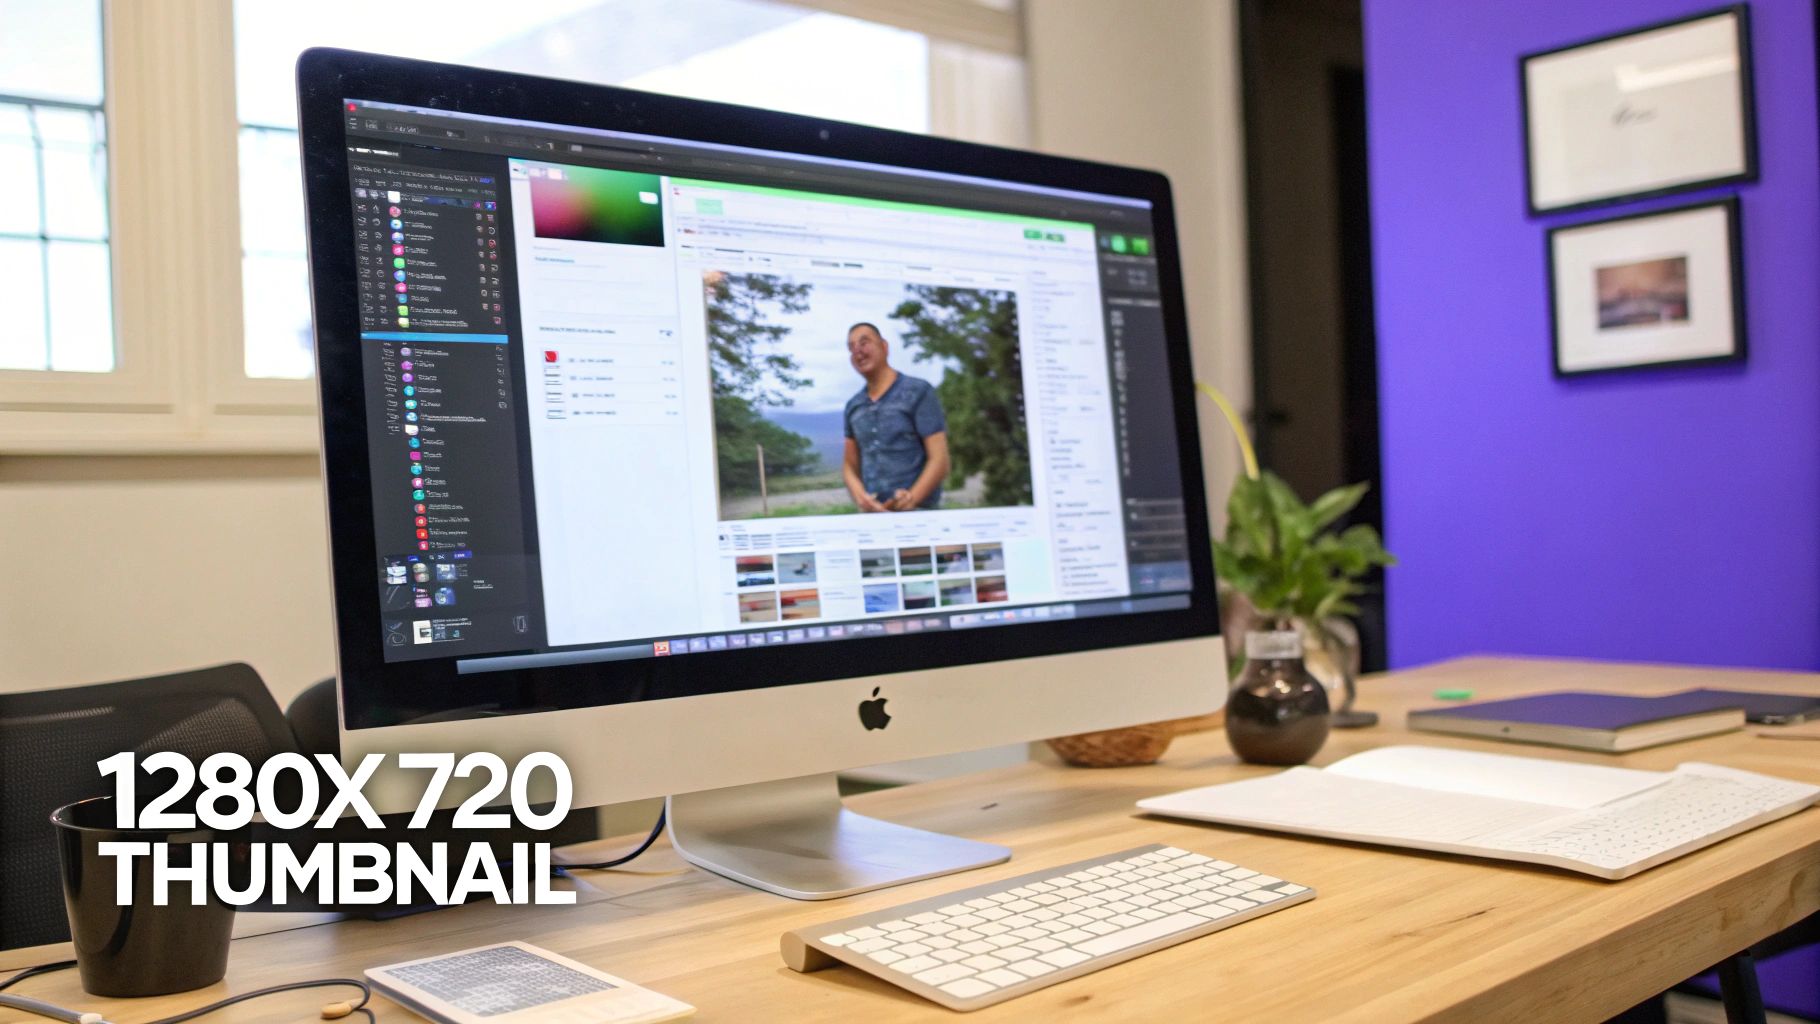
Figure 1: Editing a thumbnail in design software set to the correct 1280x720 pixel dimensions.
Why These Numbers Matter
When YouTube introduced custom thumbnails in 2012, it established 1280 x 720 pixels with a 16:9 aspect ratio as the standard. This specification perfectly matches the YouTube video player, guaranteeing your image displays as intended without letterboxing or cropping. Early creators who adopted these dimensions saw immediate view increases.
Today, with the algorithm heavily weighting click-through rate (CTR), a correctly sized, fast-loading thumbnail is non-negotiable. For a deeper analysis of how specs impact engagement, see this great article on Descript.
| Specification | Requirement | Reason |
|---|---|---|
| Dimensions | 1280 × 720 pixels | Ensures sharpness and quality on all screen sizes without pixelation. |
| Aspect Ratio | 16:9 | Matches the YouTube player, preventing black bars. |
| File Size | Under 2MB | Critical for fast load times, especially on mobile devices. |
| File Types | JPG, PNG, GIF | Standard web formats. JPG is optimal for photos, PNG for graphics. |
A thumbnail that is too small forces YouTube to upscale it, causing blurriness. A file larger than 2MB will be rejected. Following these rules eliminates common upload errors and performance issues.
The Non-Negotiable Minimums
While 1280×720 is the recommended size, YouTube technically accepts a minimum width of 640 pixels. Uploading at this minimum resolution is a mistake.
An image that small will appear visibly degraded and fuzzy when displayed on the YouTube homepage, in search results, or on a TV. This signals low quality to potential viewers and can significantly reduce your CTR. Always design your thumbnails at the full 1280×720 resolution to maintain a professional standard.
Figure 2: Setting up a new project file with the correct 1280x720 dimensions is the first step.
Why Your Thumbnail Dimensions Directly Impact Your Views
Correct thumbnail specs are a strategic decision with a measurable impact on your video's reach. When you upload a thumbnail larger than 1280x720 pixels—such as a 1920x1080 image—YouTube's forced downscaling and compression introduces visual artifacts. This process blurs sharp details and softens text, resulting in a less professional thumbnail that viewers are less likely to click.
The Real Cost of Getting It Wrong
The data is clear. Thumbnails sized to 1280x720 pixels consistently outperform others. Research indicates mismatched sizes can suffer a 15-20% lower CTR due to harsh compression that blurs details on modern screens. While YouTube permits a minimum width of 640 pixels, channels using this low resolution see bounce rates in suggested feeds that are 40% higher.
The 2MB file size limit is equally critical; oversized files can add 2-3 seconds of load time on slower networks, costing up to 25% of potential impressions. You can review the data on thumbnail performance from ThumbnailTest for more detail. This clarity loss is especially damaging on mobile, where over 70% of YouTube viewing occurs.
How Slow Load Times Trigger Algorithmic Penalties
File size directly correlates with load time. While a thumbnail over the 2MB limit is rejected, even approaching that cap can reduce performance. Larger files load slower, particularly for viewers on mobile connections.
A load delay of a few hundred milliseconds can cause a user to scroll past the blank space where your thumbnail should be. Each instance is a lost impression. This signals to the algorithm that your video may create a poor user experience, which can lead to suppression in search results and suggested feeds. Using the ClickyApps Thumbnail Resizer ensures you hit these exact specifications without sacrificing quality.
Designing for Readability on All Devices
A technically perfect but illegible thumbnail is ineffective. The objective is to create a visual that is understood instantly on any screen, from a 5-inch phone to a 60-inch TV. Mastering a few key design principles ensures your work is not obscured by YouTube’s interface.
The diagram below illustrates how technical factors—sizing, compression, and load time—directly influence a thumbnail's click-through rate.
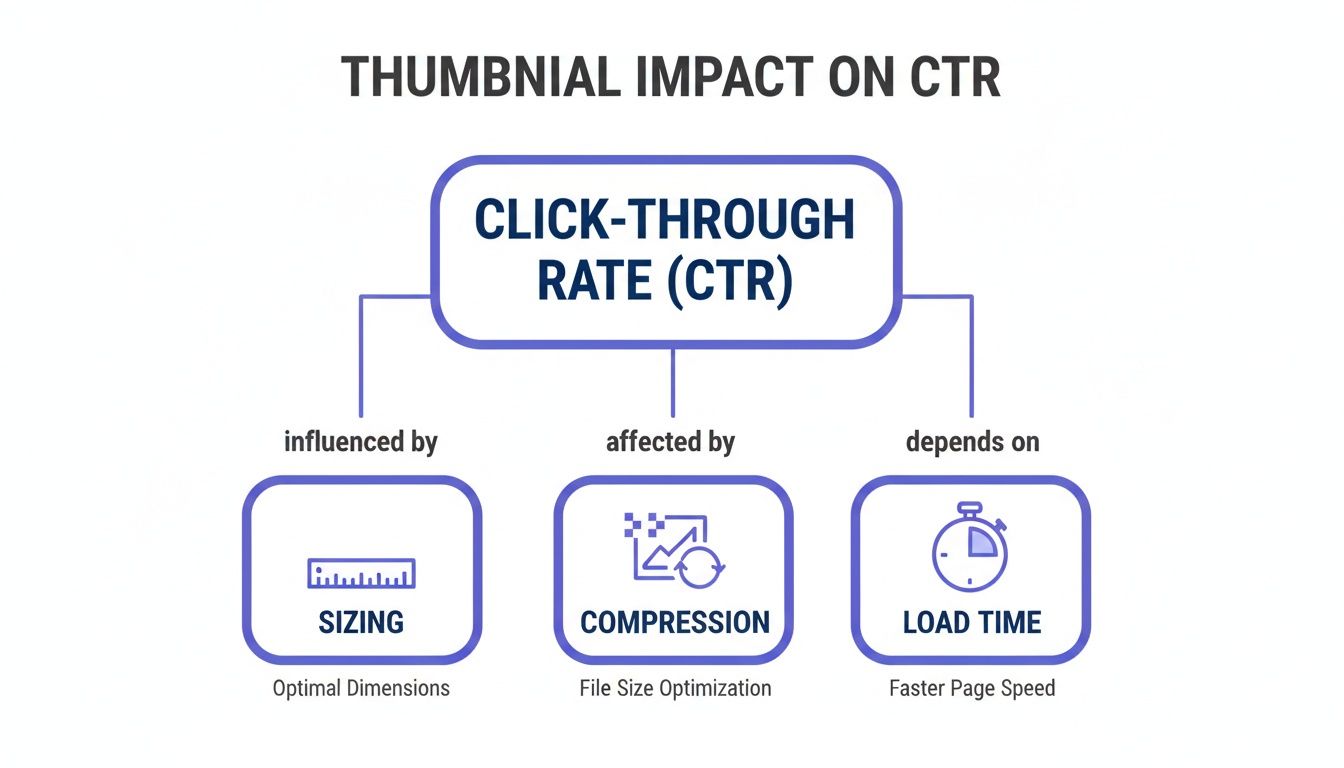
Figure 3: A flowchart showing how proper dimensions and small file size lead to faster load times and higher CTR.
Understanding the Thumbnail Safe Zone
The thumbnail safe zone is the central area where critical elements like faces, text, and key graphics must be placed. YouTube overlays UI elements, such as the video timestamp in the bottom-right corner or the "Watch Later" icon, which can obscure parts of your design.
Positioning your main subject and text within the central area ensures visibility across all devices and contexts. As a rule, keep vital components 10-15% away from all four edges. This buffer prevents text from being truncated by an icon. For more advanced strategies, consult our guide on YouTube thumbnail best practices.
Best Practices for Maximum Clarity
Beyond the safe zone, several design choices impact a thumbnail’s readability. Viewers make a split-second decision, so clarity is paramount.
- Font Size and Style: Use large, bold, sans-serif fonts like Montserrat Bold or Anton. These styles remain legible even when the thumbnail is scaled down in the suggested videos sidebar.
- High-Contrast Colors: Ensure your text is distinct from the background. Pair bright text with a dark background or vice versa. Use a contrast checker to meet accessibility standards.
- Minimalist Text: Limit text to three to five powerful words that create curiosity. The thumbnail's function is to capture attention; the video title provides the details.
For creators working with multiple formats, a YouTube Shorts Safe Zone Checker is useful for maintaining design integrity across platforms.
Getting Your Thumbnail Export Settings Just Right
The final export stage is where many creators inadvertently compromise their thumbnail's quality. The chosen file format and compression settings directly affect load speed and sharpness. The decision between JPG, PNG, and GIF is a technical one based on the thumbnail's content.
For most creators, JPG is the optimal choice. It provides an excellent balance of image quality and small file size, which is critical for the 70% of viewers on mobile devices. Faster load times contribute to a better user experience from the first impression.
Decision Framework: When to Use JPG vs. PNG
To select the right format, analyze your thumbnail's design style. A photographic image has different technical requirements than one composed of bold text and simple graphics.
| File Format | Best For | Pros | Cons |
|---|---|---|---|
| JPG | Photographic images, complex scenes with gradients, most general-purpose thumbnails. | Excellent compression creates small file sizes (100-500KB) with minimal visible quality loss. | Can create artifacts around sharp text if over-compressed. No transparency support. |
| PNG | Graphics with sharp lines, bold text, logos, or thumbnails requiring transparency. | Lossless quality for text and lines. Supports transparency for cutout effects. | Creates much larger files (often approaching the 2MB limit), which can slow down load times. |
| GIF | Not recommended. | Can produce small files for simple graphics. | Limited to a 256-color palette, which degrades photographic quality. No advantage over JPG or PNG. |
Use JPG for nearly all thumbnails. Switch to PNG only if you require transparency or if sharp text appears fuzzy in a JPG export.
Recommended Export Settings
Once you have selected a format, use these export settings in your design tool to maintain quality while staying under the 2MB file size limit.
For Adobe Photoshop:
- Navigate to
File>Export>Save for Web (Legacy). - Select JPEG from the preset dropdown menu.
- Set the Quality slider between 75-85. This range offers an optimal trade-off between compression and quality.
- Ensure "Convert to sRGB" is checked to maintain color consistency across devices.
- Confirm the final file size is under 2MB before saving.
For Canva:
- Click
Share, then selectDownload. - Choose JPG as the File type.
- Set the Quality slider to approximately 80.
- Click
Download. Canva automatically handles color profile management.
If your source image is not already 1280x720, use the ClickyApps Thumbnail Resizer to resize it correctly before exporting. This prevents quality degradation from improper scaling.
Common Mistakes & Fixes
Even with correct technical specifications, common design errors can reduce your click-through rate. Here are frequent issues and their solutions.
Video 1: A tutorial covering common thumbnail design mistakes and how to avoid them for better performance.
- Issue → Text is unreadable on mobile devices.
- Fix: Use a bold, sans-serif font like Anton or Montserrat Bold at a large size. Before exporting, verify the text has high contrast against the background. A simple test is to shrink your design to 10% of its size; if the text is not legible, increase its size or contrast.
- Issue → The design is too cluttered.
- Fix: Limit your design to three core elements: a primary image (e.g., a face), a short text overlay (3-5 words max), and one branding element. Use negative space to guide the viewer's eye.
- Issue → Key elements are obscured by YouTube's UI.
- Fix: Position all critical visuals and text within the central 80-85% of the 1280x720 canvas. This "safe zone" ensures that the timestamp, 'watch later' icon, or progress bar does not cover your message.
- Issue → The thumbnail appears blurry after upload.
- Fix: Always begin your design on a 1280x720 pixel canvas. Never create a smaller image and scale it up, as this is the primary cause of pixelation. Export a high-resolution frame from your 1080p or 4K video to use as a crisp base image.
- Issue → Colors look washed out after uploading.
- Fix: Ensure your export settings use the sRGB color profile. In tools like Photoshop, check the "Convert to sRGB" option during export (
File > Export > Save for Web). This standardizes colors for web display.
- Fix: Ensure your export settings use the sRGB color profile. In tools like Photoshop, check the "Convert to sRGB" option during export (
Frequently Asked Questions
1. Should I upload a 1920x1080 (1080p) thumbnail for better quality?
No, stick to 1280x720 pixels. While YouTube accepts 1080p files, it provides no visible quality improvement. The platform will downscale the larger image, applying aggressive compression that can introduce visual artifacts and soften sharp details. Adhering to the official 1280x720 standard ensures predictable processing and optimal quality.
2. Does the thumbnail file name affect video SEO?
Yes, it is a minor but effective SEO practice. A descriptive file name provides YouTube's algorithm with contextual information about your video's content. Instead of thumbnail_final.jpg, use your primary keyword, such as best-youtube-thumbnail-size-guide.jpg. This helps YouTube’s crawler categorize your content and can provide a slight advantage in search rankings.
3. How can I verify my design is in the safe zone?
Use a template with a built-in safe area overlay. Tools like Canva or Photoshop allow you to create persistent guides. To do this manually on a 1280x720 canvas, set vertical guides 128 pixels from the left and right edges, and horizontal guides 72 pixels from the top and bottom edges. The central area is your safe zone.
4. Why does my thumbnail look blurry after uploading?
Blurriness is typically caused by one of two issues. The most common is starting with a low-resolution image and scaling it up to fit the 1280x720 canvas. The second cause is excessive JPG compression. If the quality setting is below 70, you will see noticeable pixelation. Always start with a high-quality image on a 1280x720 canvas and export JPGs with a quality setting between 75-85.
5. Is PNG or JPG better for thumbnails?
For over 95% of thumbnails, JPG is the superior format. It provides the best balance of image quality and small file size, which promotes faster load times on mobile devices. Use PNG only when your design consists of simple graphics with sharp lines and flat colors, or if you require a transparent background. For any thumbnail that includes a photograph, JPG will produce a smaller file with no perceptible loss in quality.
Related ClickyApps Tools for Creators:
- Thumbnail Resizer
- Contrast Checker
- Color Palette Generator
- Image Compressor
- Watermark Adder
Optimize your workflow with free creator tools from ClickyApps.